
Last updated September 23, 2026
Insulation Warning Signs: A Burbank Homeowner’s Reference Guide
Most Burbank homeowners don’t think about their insulation until the July electric bill arrives or a bedroom stays stubbornly hot at midnight. By then, the problem has usually been active for two to four years. We’ve inspected over 9,000 homes since 2016, and the pattern repeats: the damage was visible earlier, but nobody knew where to look. The attic hatch is the most consistently overlooked diagnostic location in any Burbank home. Stand under it with the HVAC running and hold your hand up. If you feel air movement, you have a bypass leak that no amount of additional blown-in insulation will fix. This guide shows you what to check, room by room, before your bills force the conversation, and our more guides & resources cover what comes next.
Quick Answer
The earliest insulation warning signs in a Burbank home are physical and localized, not financial. Check for air movement at the attic hatch, temperature deltas greater than 8°F on your ceiling surface, and insulation that has shifted away from top plates or changed color from light tan to gray or dark brown. These indicators appear 12 to 36 months before energy costs spike measurably.
Table of Contents
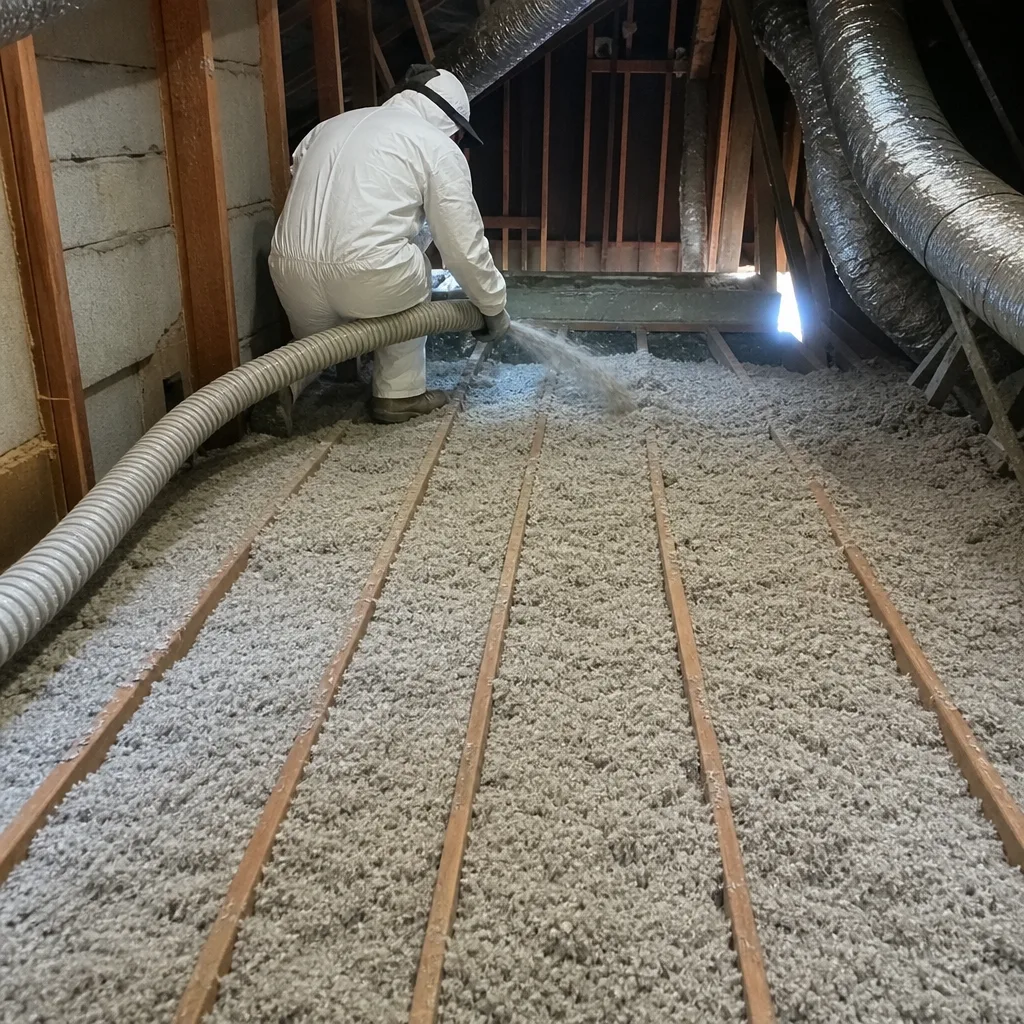
- The Attic Hatch: Your First Diagnostic Station
- What the Insulation Surface Actually Tells You
- Ceiling Temperature Mapping with a Simple Thermometer
- Reading Your HVAC System Like a Pressure Gauge
- Utility Bill Pattern Analysis: The Math That Matters
- Pest, Odor, and Contamination Indicators
- Crawl Space and Rim Joist Warning Signs
- Common Mistakes to Avoid
- When to Call a Professional
- Frequently Asked Questions
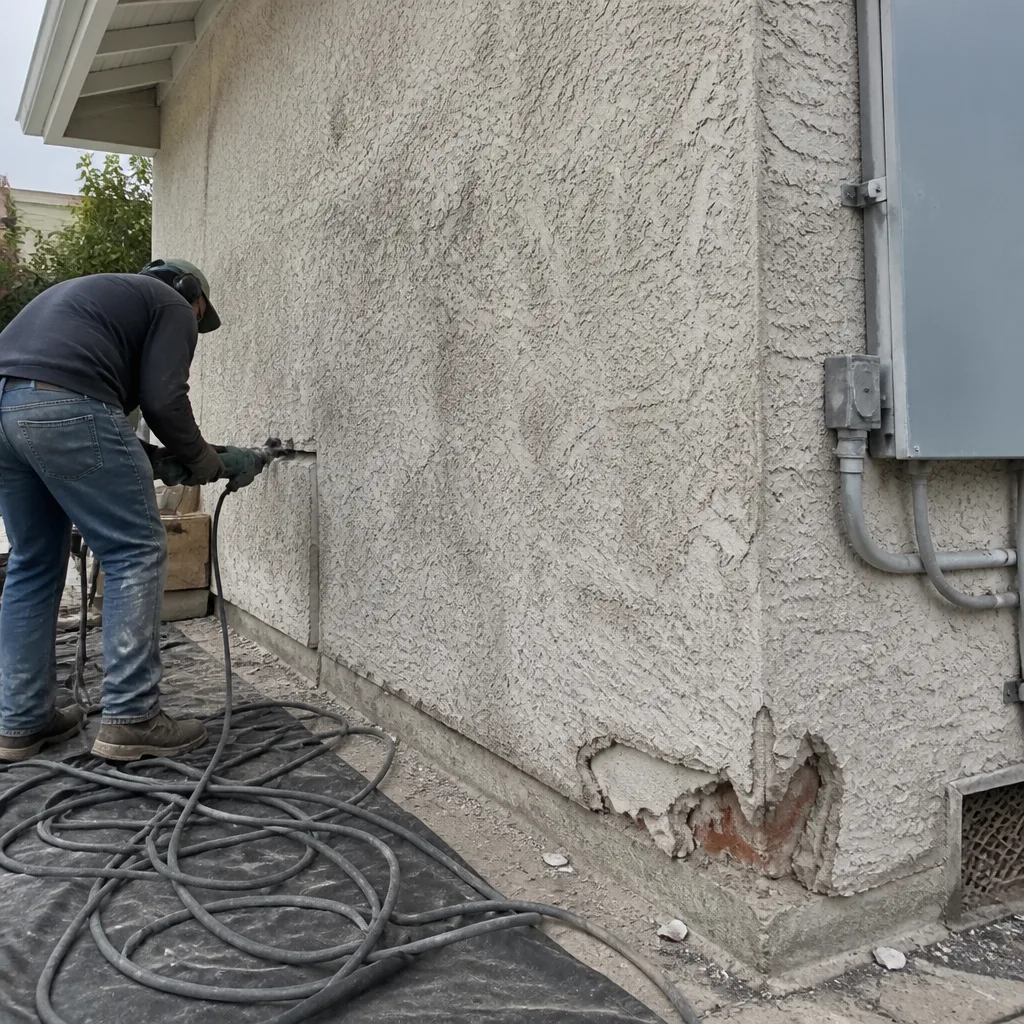 Before
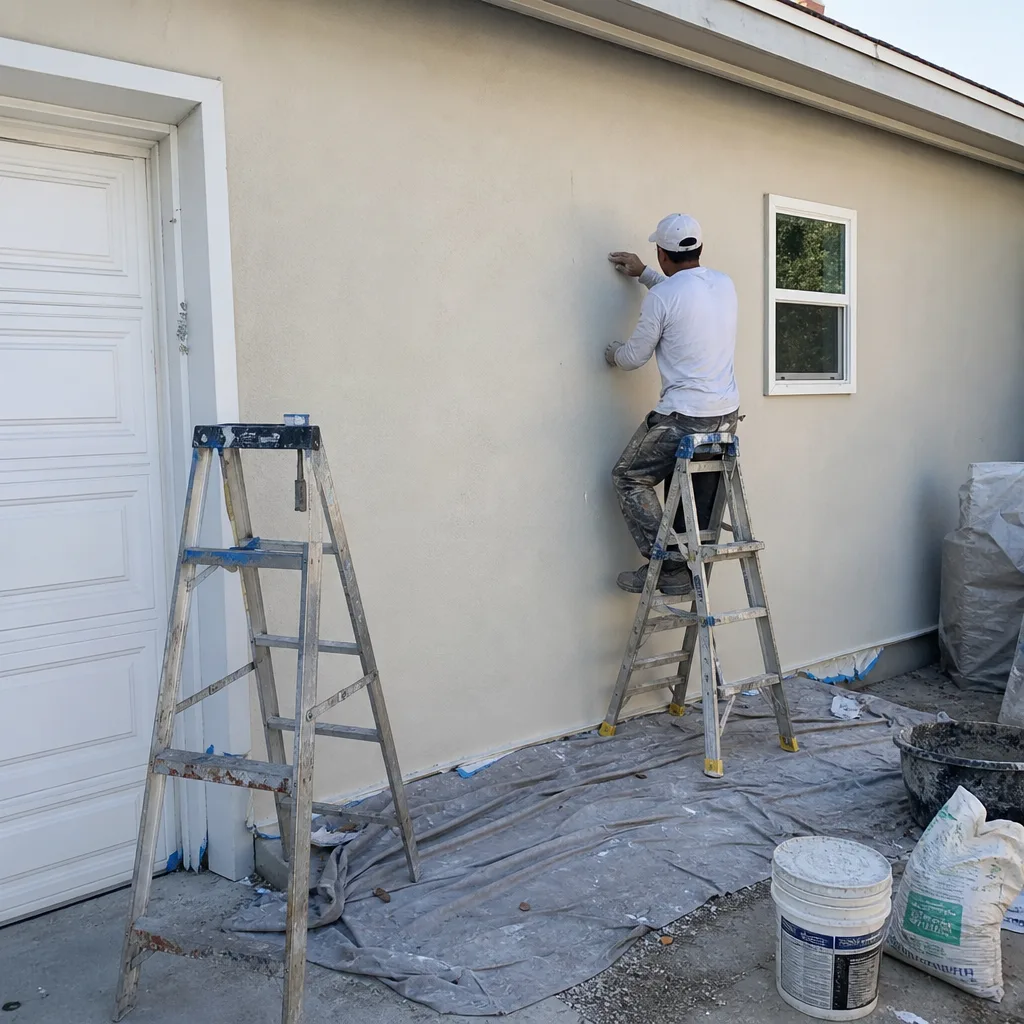 After
AfterThe Attic Hatch: Your First Diagnostic Station
We start every audit in Burbank with the attic hatch, and you should too. It’s the single most accessible penetration in the thermal envelope, and it behaves like a pressure relief valve. When the house is under negative pressure (HVAC return pulling air, or stack effect in winter), the hatch leaks inward. When the attic is pressurized by wind or positive pressure, it leaks outward. Either direction is a problem.
Here’s the test. Wait for a day when your HVAC has been running for at least 20 minutes. Stand on a step stool directly beneath the attic hatch. Hold the back of your hand an inch below the trim or the hatch itself. If you feel any air movement, you have a bypass leak. The sensation might be warm in summer, cool in winter, or just a faint draft. What you’re feeling is conditioned air escaping or unconditioned attic air entering. In Burbank’s climate, where attic temperatures regularly exceed 130°F in August, that air movement represents a direct thermal load your system is fighting continuously.
The hatch itself is rarely the only leak. It’s a symptom. Air is moving through the hatch because pressure differentials exist between the house and attic. Those differentials are driven by gaps at top plates (where interior walls meet the attic floor), plumbing and electrical penetrations, can light housings, and chimney chases. In the hills north of Magnolia Boulevard, where older homes from the 1940s and 1950s dominate, we’ve measured hatch leaks as severe as 180 CFM50 on the blower door. That’s equivalent to leaving a window cracked year-round.
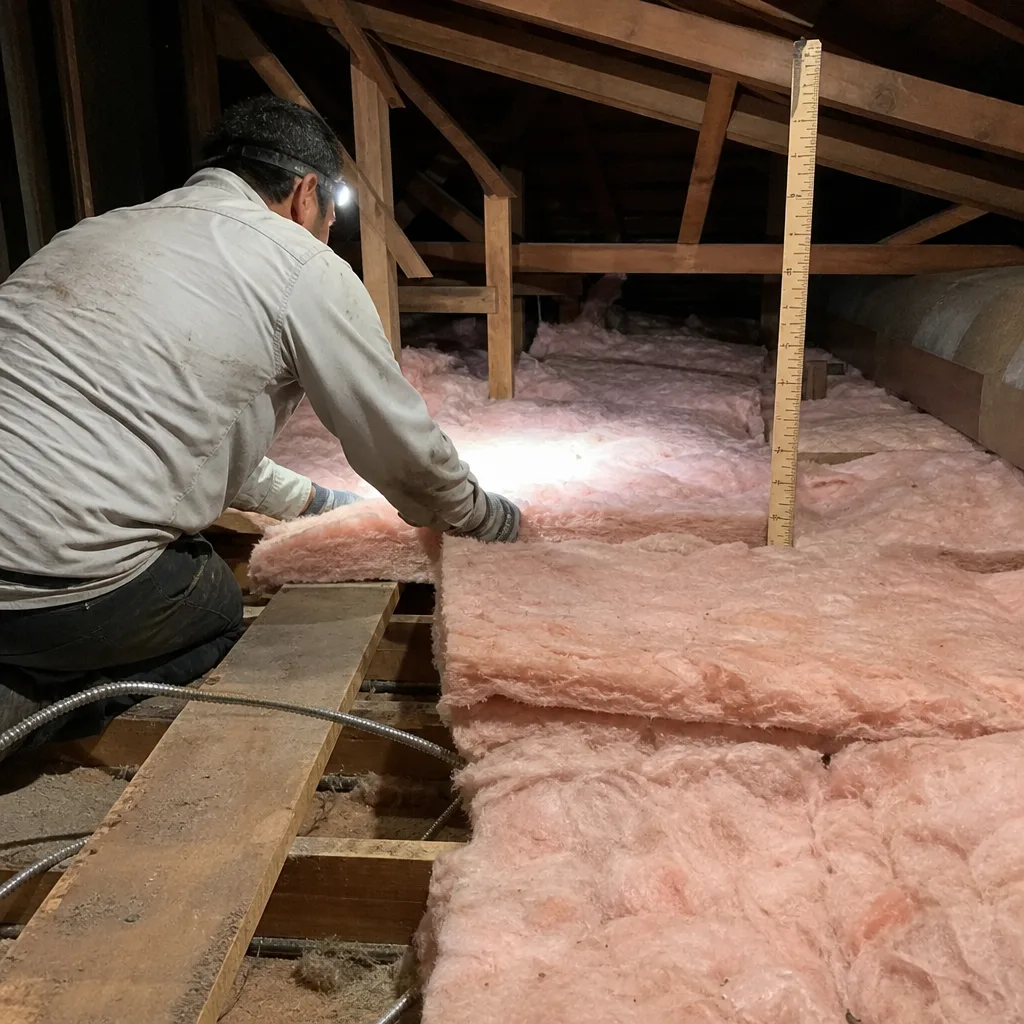
If you feel air at the hatch, your next step is visual inspection. Pop the hatch (wear a respirator; attic dust is not benign). Look at the insulation immediately surrounding the opening. Is it disturbed, compressed, or missing? Has it been pushed aside by previous contractors or homeowners who needed access? In Burbank, we see this constantly in the Rancho area and the streets south of Verdugo Avenue, where multiple ownership changes and DIY projects have left attic floors looking like archaeological sites.
Document what you find with photos. Date them. If you call us for a free second opinion, those photos let us start the conversation with specifics rather than guesses. Under Haven Standard Clause 1, you’ll get a written price before any work starts, and that price is based on what we measure, not what we assume.
What the Insulation Surface Actually Tells You
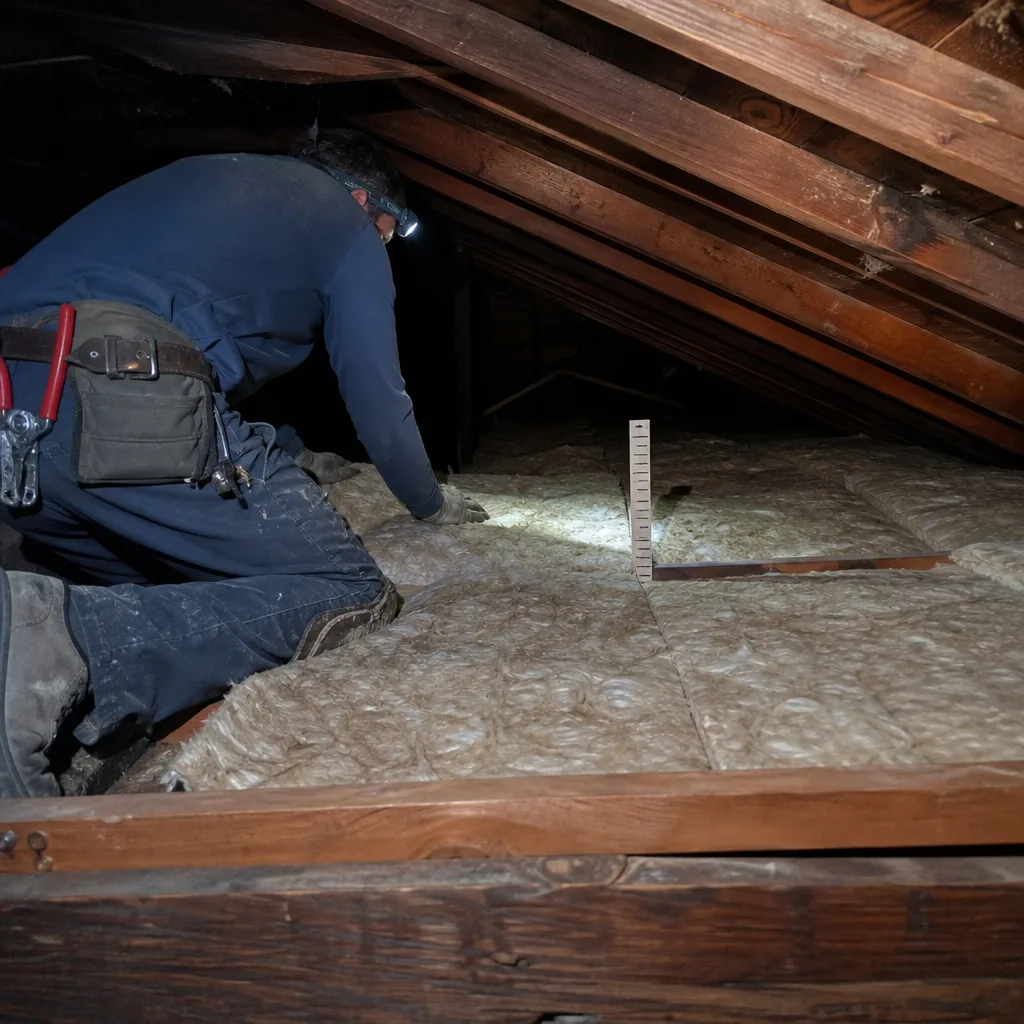
Once you’re in the attic, the insulation surface is a record of everything that has happened since installation. Reading it correctly requires understanding what normal aging looks like in Burbank’s dry climate versus what indicates active problems, as detailed in our The Complete Guide to Insulation in Burbank.
Normal aging in our region produces a uniform light tan to pale yellow color in fiberglass batts, or a consistent gray in cellulose. The surface may be slightly dusty. There should be no dark streaks, no localized discoloration, and no areas where the material has clearly been wet and dried. Burbank averages 17 inches of annual rainfall, concentrated in December through March. Attic moisture events are rare but usually traceable to specific failures: bathroom vent termination inside the attic, roof leaks around chimney flashings, or supply duct condensation in unconditioned space.
Color changes to watch for:
- Gray to dark gray streaking on fiberglass: indicates filtered air movement. The insulation is acting as an air filter, trapping dust from leaking air. This is the signature of a bypass leak, typically at a top plate or penetration. The darker the streak, the longer and more severe the leak.
- Uniform darkening or browning of cellulose: often indicates rodent urine saturation or prolonged moisture exposure. In Burbank, where roof rats are endemic to the hillside neighborhoods above Glenoaks Boulevard, this is common. The odor profile distinguishes rodent from moisture; we’ll cover that in the pest section.
- White or light gray crystalline deposits on the surface: efflorescence from moisture migration through plaster or drywall below. Rare in Burbank but seen in homes with swamp cooler residue or past roof leaks.
- Shiny or matted areas where insulation appears compressed and slightly glossy: duct condensation or past water intrusion. The material has been wet, compressed by the weight of water, and may have mold growth below the surface.
Structural changes to watch for:
- Settling more than 20% below the intended depth: fiberglass batts lose loft over decades, but cellulose and blown-in fiberglass should maintain depth. Significant settling indicates either improper initial density or disturbance.
- Shifted or displaced batts: common after electrical work, pest control, or cable installation. We see this frequently in the Media District condos and the post-war bungalows near Burbank High, where multiple service trades have accessed attics over decades.
- Gaps at the eaves or around chases: these are installation errors, not aging, but they’re ubiquitous in Burbank homes built before 1980. The original insulation rarely extended fully to the eave, either because of access difficulty or because the crew simply didn’t push material to the edge.
In our experience, the most telling single observation is the condition of insulation at the top plates. These are the horizontal framing members where interior walls meet the attic floor. If you can see the top plate, the insulation has shifted or was never properly installed. In a correctly insulated attic, the top plate should be buried. Exposed top plates are thermal bridges that conduct heat directly from the attic into the wall cavity below, and they’re pressure boundaries that leak air when the house is depressurized.
Ceiling Temperature Mapping with a Simple Thermometer
You don’t need an infrared camera. A $25 infrared thermometer gun, available at any hardware store in Burbank, will give you actionable data. The technique is simple, but the interpretation requires understanding what you’re measuring.
How to map your ceiling:
- Choose a day when the attic has had at least four hours of sun exposure and the HVAC has been off for two hours. You want thermal stratification, not active conditioning.
- Set the thermometer to measure surface temperature, not air temperature. Most guns have a laser pointer; aim at the ceiling surface, not the wall or floor.
- Take readings in a grid pattern, every two feet, across each room. Record the numbers or have someone call them out while you mark a sketch.
- Pay special attention to areas below attic hatches, below can lights, below bathroom fans, and at exterior wall-ceiling junctions.
What the numbers mean in Burbank:
In summer, with an attic at 120°F to 140°F, a well-insulated ceiling surface should read within 5°F of your interior air temperature. If your thermostat shows 78°F, ceiling surfaces should be 78°F to 83°F. Readings above 90°F indicate missing, compressed, or bypassed insulation. Readings above 100°F usually mean you’re measuring directly below a thermal bridge (a steel beam, a chimney chase) or an air leak path.
In winter, the pattern reverses. With attic temperatures in the 40s or 50s, well-insulated ceilings should read within 3°F of room temperature. Cold spots below 65°F when the room is 70°F indicate the same problems.
The critical threshold is an 8°F delta between the warmest and coolest spots on the same ceiling plane. We’ve found that delta in hundreds of Burbank homes, and it always correlates with measurable air leakage on the blower door. In a home we audited last year on Catalina Street, the master bedroom ceiling varied from 76°F to 94°F on an August afternoon. The attic above had been “upgraded” with additional blown-in fiberglass by a previous owner, but the crew had never sealed the can lights or top plates. The new insulation simply buried the leaks, making them harder to find but no less active.
When we map ceilings during audits, we photograph the temperature readings and include them in the Documented Photo Record that every customer receives. After air sealing and insulation work, we return and remap the same points. The delta typically drops to under 3°F. That’s not a feeling; it’s a measurement you can verify yourself with the same $25 gun.
Reading Your HVAC System Like a Pressure Gauge
Your air conditioner or furnace is the most expensive diagnostic tool you already own. Its behavior patterns reveal envelope problems before any other indicator, but most homeowners misattribute the symptoms to equipment failure.
Short-cycling in summer: The compressor starts, runs for three to eight minutes, shuts off, and restarts within ten minutes. This is not normal. In a correctly sized and sealed system, cooling cycles should run 12 to 20 minutes in Burbank’s climate. Short-cycling has three common causes: oversized equipment, restricted airflow, or rapid temperature equalization due to envelope leakage. If your system was properly sized originally and the filter is clean, suspect the envelope. Cool air is escaping or hot attic air is infiltrating so fast that the thermostat reaches setpoint quickly, then the heat gain overwhelms the space just as fast.
Continuous running without reaching setpoint: The opposite pattern, usually on the hottest Burbank afternoons in August and September. The compressor runs for hours, the house never reaches 78°F, and the supply air feels cool but insufficient. This indicates either capacity loss (refrigerant leak, dirty coils) or load beyond design. If the equipment was adequate in previous summers, the load has increased. The most common cause in our audits is attic insulation degradation combined with air leakage, not equipment failure. The system is trying to cool Burbank’s 130°F attic air that’s entering through bypass leaks faster than the ducts can deliver conditioned air.
Room-to-room temperature variation exceeding 4°F: In a sealed, insulated envelope with balanced ducts, bedrooms should track within 2°F of the thermostat location. Variations of 5°F to 10°F between rooms on the same system almost always indicate duct leakage or envelope problems, not duct design. In Burbank’s flat-roofed mid-century homes near the airport and the Equestrian Center, we see this constantly. The attic ductwork runs through 140°F space, and any leak pressurizes the attic or depressurizes the room. Meanwhile, missing insulation above one bedroom but not another creates unequal thermal boundaries.
How to rule out insulation failure before calling an HVAC contractor:
- Check your filter. Restricted airflow mimics envelope problems.
- Verify all supply and return vents are open and unblocked.
- Run the system for 30 minutes, then use your infrared thermometer on the ceiling of the problem room versus a known-good room. If the problem room ceiling is 8°F or more different from the good room, the envelope is suspect.
- Check the attic hatch test described earlier. If you feel air movement, you have bypass leaks that are pressurizing or depressurizing rooms asymmetrically.
If the ceiling temperatures are uniform and the hatch is tight, call your HVAC technician. If the ceiling is hot and the hatch leaks, call us first. Sealing and insulating before replacing equipment often downsizes the required system and extends its life. We’ve seen Burbank homeowners spend $8,000 on a new compressor when $2,400 in air sealing and insulation would have solved the actual problem.
Utility Bill Pattern Analysis: The Math That Matters
“High bills” is the warning sign every homeowner knows, but it’s also the least specific and the latest to appear. By the time your bill shocks you, the insulation has been compromised for years. What matters is the year-over-year cooling cost trend, adjusted for weather and rates.
The calculation method:
- Gather 24 months of electric bills. Most Burbank homeowners can download these from the DWP website in minutes.
- Identify the cooling season: May through October in our climate, when baseline usage is lowest and air conditioning drives the peak.
- For each month, note the total kilowatt-hours (kWh) and the total bill amount. Ignore the tiered rate structure for this analysis; use total kWh.
- Find the Cooling Degree Days (CDD) for each month from the National Weather Service station at Burbank Airport (KBUR). CDD measures how much and how long temperatures exceeded 65°F.
- Calculate kWh per CDD for each month: kWh divided by CDD. This normalizes for weather.
- Compare the same months year-over-year. June 2024 versus June 2023, July versus July, etc.
What the trend tells you:
- Stable or declining kWh per CDD: Your envelope is holding. Any bill increase is rate-driven or behavior-driven.
- 5% to 15% increase year-over-year: Early envelope degradation. Possible causes: insulation settling, new bypass leaks from construction or pest activity, duct leakage worsening.
- 15% to 30% increase: Significant envelope failure. This is the range where we typically find multiple compounding problems: compressed insulation, active bypass leaks, and duct leakage in unconditioned attic.
- Over 30% increase: Severe failure or equipment problem. Requires immediate professional assessment.
Here’s a real example from a Burbank homeowner on Screenland Drive. Their July kWh per CDD went from 4.2 in 2022 to 5.1 in 2023 to 6.4 in 2024. That’s a 52% increase over two years. The DWP rate had increased 8% in that period. The remaining 44% was load. Our audit found: fiberglass batts compressed to 40% of original depth by a roof leak two years prior (the homeowner had patched the roof but never replaced the insulation); three bathroom vents terminating inside the attic, pressurizing it with moist air; and a disconnected return duct pulling 130°F attic air directly into the system. The blower-door reading was 3,800 CFM50 before work and 1,900 after sealing, insulation replacement, and duct repair. Their August 2024 bill, post-work, showed kWh per CDD back to 4.4.
The key insight: they could have caught this at the 15% mark in 2023 if they’d known to look. The ceiling was already hot. The hatch already leaked. The system was already short-cycling. The bill was just the last indicator to arrive.
Pest, Odor, and Contamination Indicators
Not all insulation warning signs are thermal. Some are olfactory, and the specific odor profile tells you what happened, what needs to happen before new insulation goes in, and how urgent the situation is.
The three musty odors of compromised attic insulation:
- Ammonia-forward, sharp and persistent: Rodent urine saturation. Roof rats and mice urinate continuously as they travel, and cellulose insulation wicks and holds it. In Burbank, where rat populations surge in hillside neighborhoods after dry winters, this is the most common contamination we find. The odor penetrates drywall through light fixtures and ceiling penetrations. It does not dissipate on its own. Remediation requires removal of contaminated material, not encapsulation. We use HEPA-contained removal, then sealing of all entry points, then new insulation. Never add new insulation over rodent-contaminated material; the urine continues to off-gas through the new layer.
- Earthy, mushroom-like, localized to one area: Mold growth from moisture intrusion. In Burbank’s dry climate, active mold in an attic usually means an ongoing leak, not past humidity. Check the roof directly above the odor source. Look for dark staining on rafters or sheathing. Mold remediation requires drying the source, removing affected material, and treating structural surfaces before any new insulation is installed. We coordinate this sequence under our 365-Day Done Right Promise; if moisture returns, we make it right.
- Sweet, putrid, intense but fading over days: Dead animal. A rat, squirrel, or bird has died in the attic or wall cavity. The odor peaks at 3 to 5 days post-death, then gradually diminishes over two to three weeks as desiccation progresses. This does not require insulation removal unless the carcass is in contact with the material. Usually, location and removal solves the problem. If the animal died in a batt cavity, that section may need replacement.
Visual pest indicators:
Tunneling in cellulose is unmistakable: narrow pathways, compressed trails, and scattered droppings. In fiberglass, look for matting and discoloration where rodents have nested. In Burbank, we find active infestations in approximately 30% of pre-1990 homes during initial audits, concentrated in the foothill areas above Sunset Canyon and the older neighborhoods near St. Joseph Medical Center.
The critical distinction for homeowners: odor alone doesn’t dictate the remediation sequence. Rodent contamination requires removal and exclusion before new insulation. Mold requires moisture source elimination and treatment. Dead animals require removal and spot repair. Adding insulation over any of these problems is wasted money and potentially hazardous. Under Haven Standard, we photograph the contamination, explain the sequence, and provide a written scope that separates remediation from insulation so you understand exactly what each phase costs and why.
Crawl Space and Rim Joist Warning Signs
Burbank’s older neighborhoods, particularly the post-war tracts south of Magnolia and the hillside homes built on piers, often have crawl spaces that are the forgotten half of the thermal envelope. What happens below the floor affects comfort, air quality, and energy use as much as what happens above the ceiling.
Floor-level indicators that point to crawl space problems:
- Cold floors in winter, even with heating: In a sealed, insulated crawl space or a properly conditioned basement, floor surface temperature should be within 5°F of room air temperature. Cold floors indicate missing or degraded insulation at the rim joist (the perimeter framing where the floor meets the foundation) or unsealed vents pulling outside air through the crawl space.
- Musty odor rising from floor registers or gaps: Stack effect pulls air from the lowest point of the house. If your crawl space smells like soil, mold, or rodent, that air is entering your living space. In Burbank’s clay-heavy soils, particularly in the flat areas near the Los Angeles River, crawl spaces can hold moisture even in dry years.
- Visible sagging or fallen batts between floor joists: Gravity and moisture degrade the fasteners or supports over time. Fallen insulation is doing nothing. We see this in nearly every unencapsulated crawl space over 30 years old in Burbank.
The rim joist specifically:
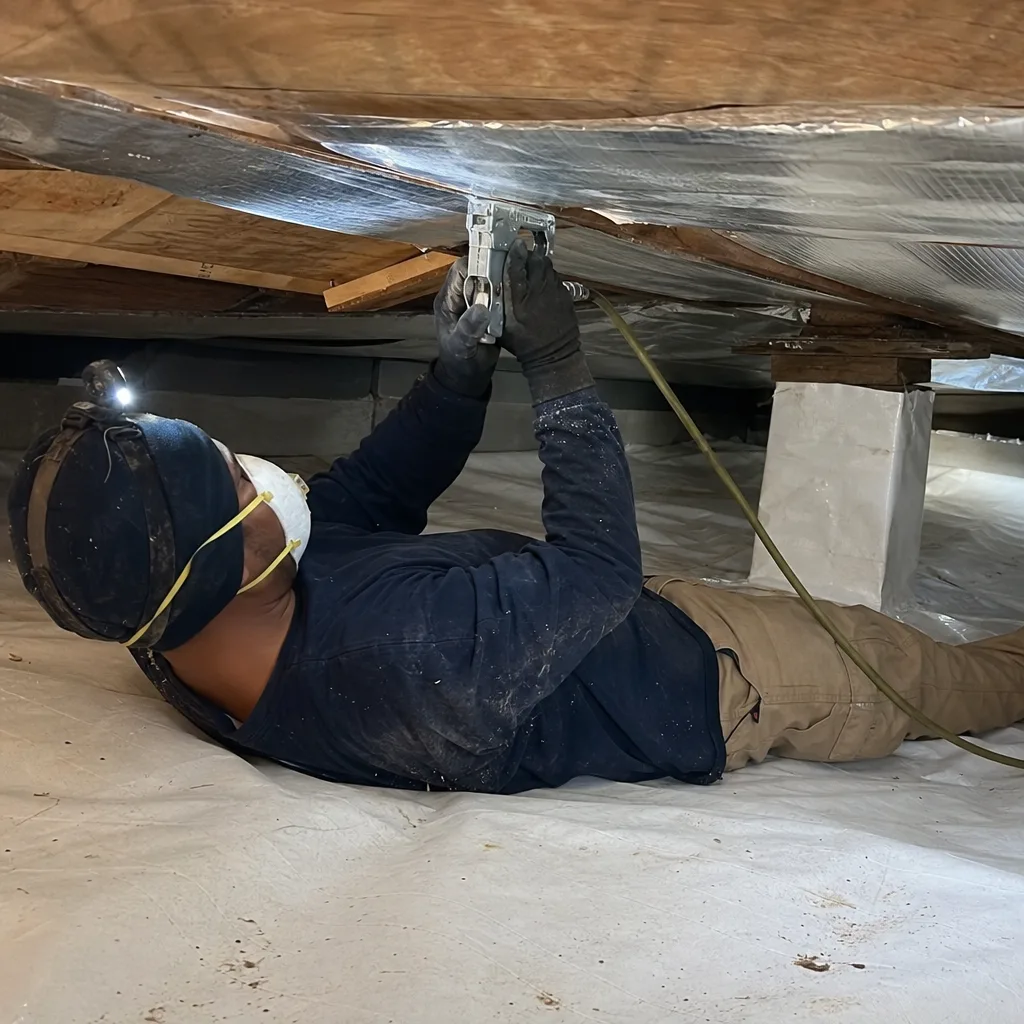
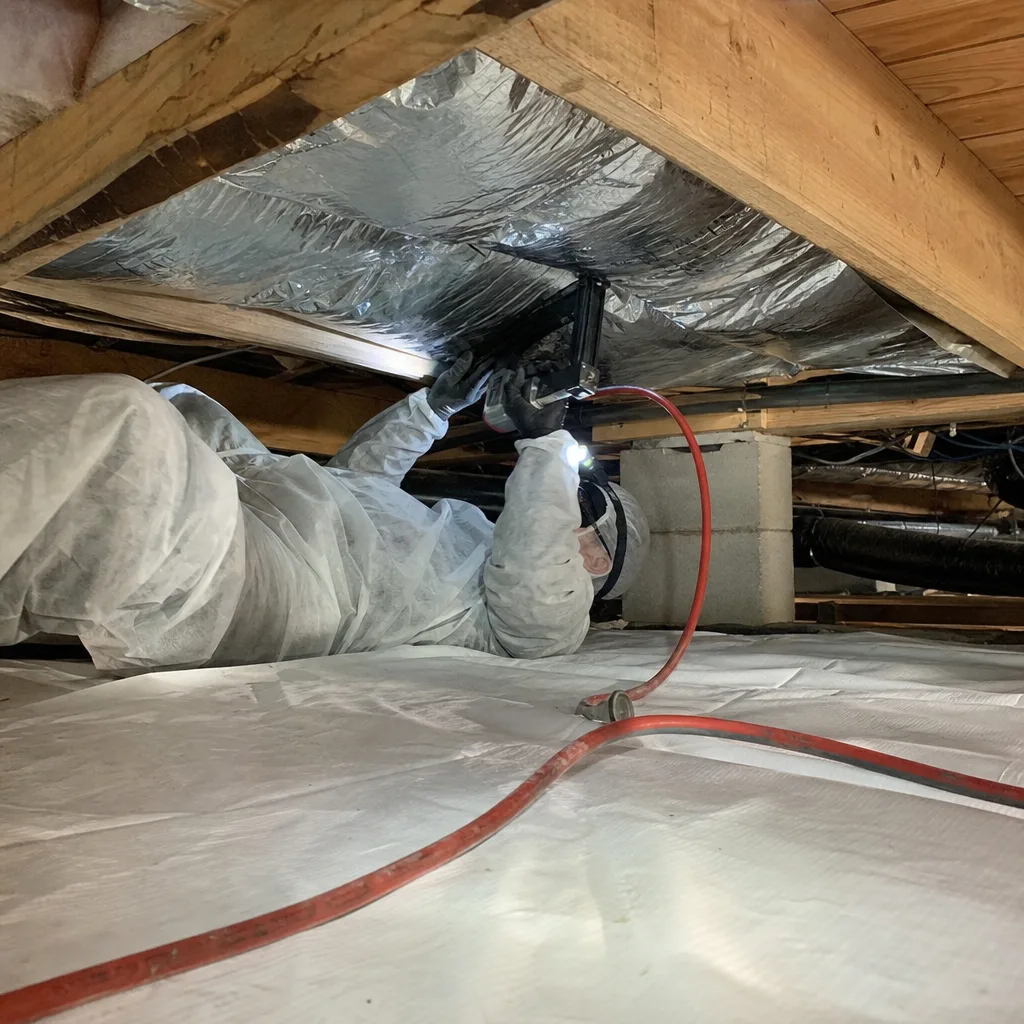
This is the most under-insulated and under-sealed component in most Burbank homes. The rim joist is a structural box formed by the ends of floor joists, the sill plate, and the band joist. It’s wood, it’s perimeter, and it’s riddled with penetrations for plumbing, electrical, and HVAC. In winter, it’s the coldest surface in the building envelope. In summer, it’s a convection-driven air leak path. Spray foam insulation at the rim joist, applied after air sealing, solves both problems simultaneously. We use open-cell products like Icynene and Demilec for this application in Burbank, specified by thickness based on the specific rim joist depth and the blower-door target.
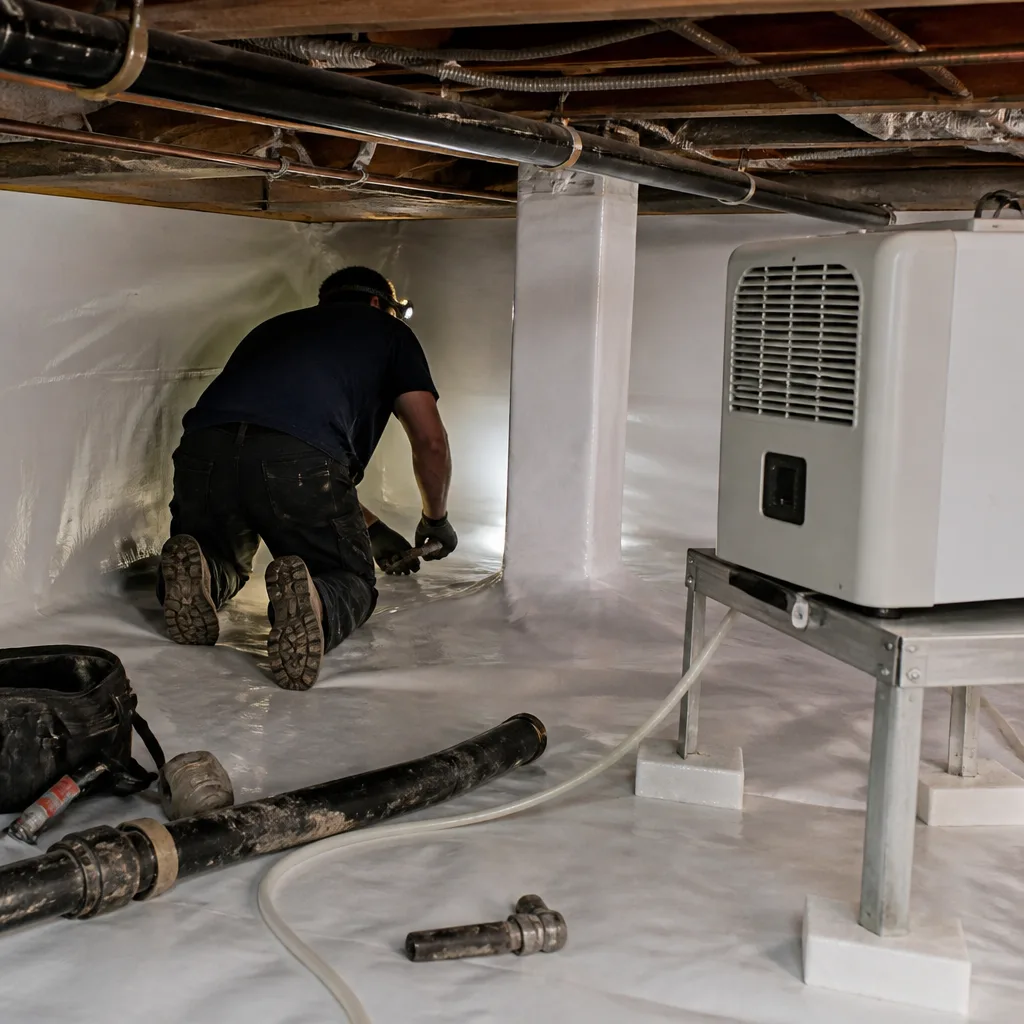
Crawl space encapsulation, with a vapor barrier sealed to walls and piers, transforms the space from outside to conditioned. In Burbank’s climate, where winter ground moisture can elevate humidity even when rainfall is minimal, this is often the right solution for homes with persistent floor-level comfort problems. Crawl space encapsulation in Burbank is a service we evaluate case by case, with the same written price and documented photo record as every other job.
Common Mistakes to Avoid
- Adding insulation over unsealed bypass leaks: This is the most common error we correct in Burbank. A homeowner or contractor adds blown-in fiberglass or cellulose over an attic floor that still leaks at top plates, can lights, and penetrations. The new insulation buries the leaks, making them invisible, but air continues to move through the material. The result is filtered discoloration, reduced effective R-value, and no comfort improvement. We never install insulation before air sealing is complete and verified.
- Trusting visual depth alone: Insulation can look adequate by depth while being severely compromised by compression, moisture, or displacement. A 12-inch batt compressed to 6 inches by foot traffic or water damage performs like 6 inches, not 12. Always verify loft and uniformity, not just coverage.
- Ignoring the hatch and access door: The attic hatch is a hole in the pressure boundary. If it’s not weatherstripped, insulated, and latched tightly, it’s a continuous leak. We build custom insulated hatch covers as standard on every job where the existing hatch is inadequate.
- Replacing HVAC equipment before addressing the envelope: In our Burbank audits, we regularly find systems that were replaced unnecessarily. The new equipment performs slightly better because it’s new, but the underlying load problem persists. The correct sequence is: seal, insulate, then right-size equipment if needed.
- DIY spray foam at rim joists: Two-component spray foam kits available at hardware stores are difficult to apply at correct thickness and density. Improper application produces off-gassing, inadequate coverage, and fire hazard if not covered with ignition barrier. This is a trained-professional application.
- Accepting “R-value per inch” as the only metric: R-value is measured in a laboratory under still-air conditions. Real-world performance depends on air sealing, installation quality, and whether the insulation maintains contact with the air barrier. A lower-R product properly sealed often outperforms a higher-R product with gaps and leaks.
- Waiting for the bill to confirm the problem: By the time utility costs spike measurably, insulation has been compromised for years. The physical indicators described in this guide appear first. Check them annually, ideally in late spring before cooling season peaks.
When to Call a Professional
Call when you’ve confirmed any of the following: air movement at the attic hatch, ceiling temperature deltas over 8°F, year-over-year cooling cost increases over 15% adjusted for weather, visible contamination or pest activity in the attic, or HVAC behavior changes that don’t resolve with filter replacement. These are not DIY repairs. Attic work involves electrical hazards, fall risks, and respiratory exposure. Insulation removal requires HEPA containment. Air sealing at top plates and penetrations demands knowledge of fireblocking code and proper materials.
Topside Attic Insulation Burbank offers free estimates in Burbank. Every estimate includes a written scope, a written price before any work starts, and a Documented Photo Record of what we find. On applicable jobs, we provide before-and-after blower-door numbers so you can verify the air-sealing result in a single figure. Call (213) 816-1699 to schedule, or bring us a competing written estimate for a free second opinion. A live person answers 24/7.
Frequently Asked Questions
Most complete attic insulation removals and replacements in Burbank run between $3,200 and $7,800, depending on attic square footage, contamination level, and whether air sealing and duct repair are needed. A straightforward blown-in fiberglass top-off over existing material, with air sealing, typically ranges from $1,800 to $3,400. We provide a written price before any work starts, always, with no exceptions. Call (213) 816-1699 for an exact quote on your specific attic - estimates are free.
Only if the existing material is dry, uncontaminated, uncompressed, and the attic floor has been properly air sealed first. In our Burbank audits, fewer than 20% of existing attics meet all four conditions. Adding insulation over wet, rodent-contaminated, or bypass-leaking material buries the problem and often makes it worse. We inspect and test before recommending any approach.
Calculate your kWh per Cooling Degree Day year-over-year, as described in the utility bill analysis section above. If that normalized figure has increased more than 10%, the problem is load, not rates. DWP rate increases in recent years have been 5% to 8% annually. Anything beyond that is your envelope.
Current California Title 24 standards specify R-38 minimum for attic insulation in Climate Zone 9, which includes Burbank. Many homes built before 1990 have R-11 to R-19 originally. However, R-value alone doesn’t determine performance. An R-38 attic with bypass leaks performs worse than an R-30 attic that is properly air sealed. We specify by performance target, not just code minimum.
Open-cell spray foam at the roofline or rim joist is often the right solution for specific Burbank home types: flat-roofed mid-century homes with attic ductwork, homes with cathedral ceilings where attic ventilation is impractical, and crawl spaces with moisture management needs. It provides air sealing and insulation in one application. For standard pitched attics with adequate ventilation, blown-in fiberglass or cellulose with meticulous air sealing is typically more cost-effective. We specify spray foam in Burbank only where it solves a problem that other materials cannot.
Blown-in fiberglass and cellulose, properly installed and protected from moisture, last 20 to 30 years in Burbank’s dry climate. Batts may settle and degrade faster, 15 to 25 years. However, we’ve seen 10-year-old insulation fail because of unsealed bypass leaks that filtered and compressed the material, and 40-year-old insulation performing adequately because the attic was tight. Lifespan is determined by installation quality and environmental exposure, not just age.
The Bottom Line
The warning signs that matter in Burbank are physical, measurable, and early. Feel for air at the attic hatch. Map your ceiling temperatures with a $25 thermometer. Watch your HVAC cycle times and your normalized utility trend. Inspect insulation color and texture for what they reveal about air movement and moisture. Smell for the specific odors that distinguish rodent, mold, and decay. For how these tasks shift through the year, see our Seasonal Insulation Care for Burbank: Year-Round Homeowner’s Guide. These indicators appear years before bills spike, and they tell you exactly where to focus. The most expensive mistake is adding insulation over problems that sealing should have fixed first. At Topside Attic Insulation Burbank, we treat air sealing as a hard prerequisite, document every finding with photos, and publish before-and-after blower-door numbers so you know what you paid for. That’s the Haven Standard. It’s been our operating framework since 2016.
Ready to know what your attic is actually doing? Call (213) 816-1699 for a free estimate. A live person answers, 24/7. Bring us any written estimate for a free second opinion. You’ll get a written price before any work starts, and a Documented Photo Record when the crew leaves.
Written by Wes Okafor, Owner at Topside Attic Insulation Burbank, serving Burbank since 2016.