
Last updated September 23, 2026
Attic Insulation Maintenance Checklist for Burbank Homeowners
A single rat runway compressed into blown-in cellulose doesn’t just disturb insulation in that path. The urine contamination wicks laterally through the material, and the tunnel becomes an express lane for conditioned air to exit your home. What started as a narrow corridor ends up as a zero-R pathway straight through your attic floor. In Burbank, where summer attic temperatures routinely hit 140°F and winter nights dip into the 30s, these defects don’t gradually reduce efficiency. They create sharp, measurable spikes in heating and cooling load that show up on your SCE bill within one billing cycle. Our Complete Guide to Insulation in Burbank complements this annual inspection protocol. You’ll learn to read four specific failure indicators, measure settled depth against original specs, identify pest evidence by species, and know exactly when a visual check is no longer enough.
Quick Answer
Burbank homeowners should inspect attic insulation annually for four measurable failure indicators: settled depth below installed markers, moisture staining specific to tile-and-tar roof assemblies, pest runways or droppings, and breached air barriers at hatches and penetrations. Use a ruler to check depth against joist-mounted markers, photograph any defects, and schedule Attic Insulation services or a blower-door retest if your heating or cooling bills have risen more than 15% year-over-year with no HVAC equipment change.
Table of Contents
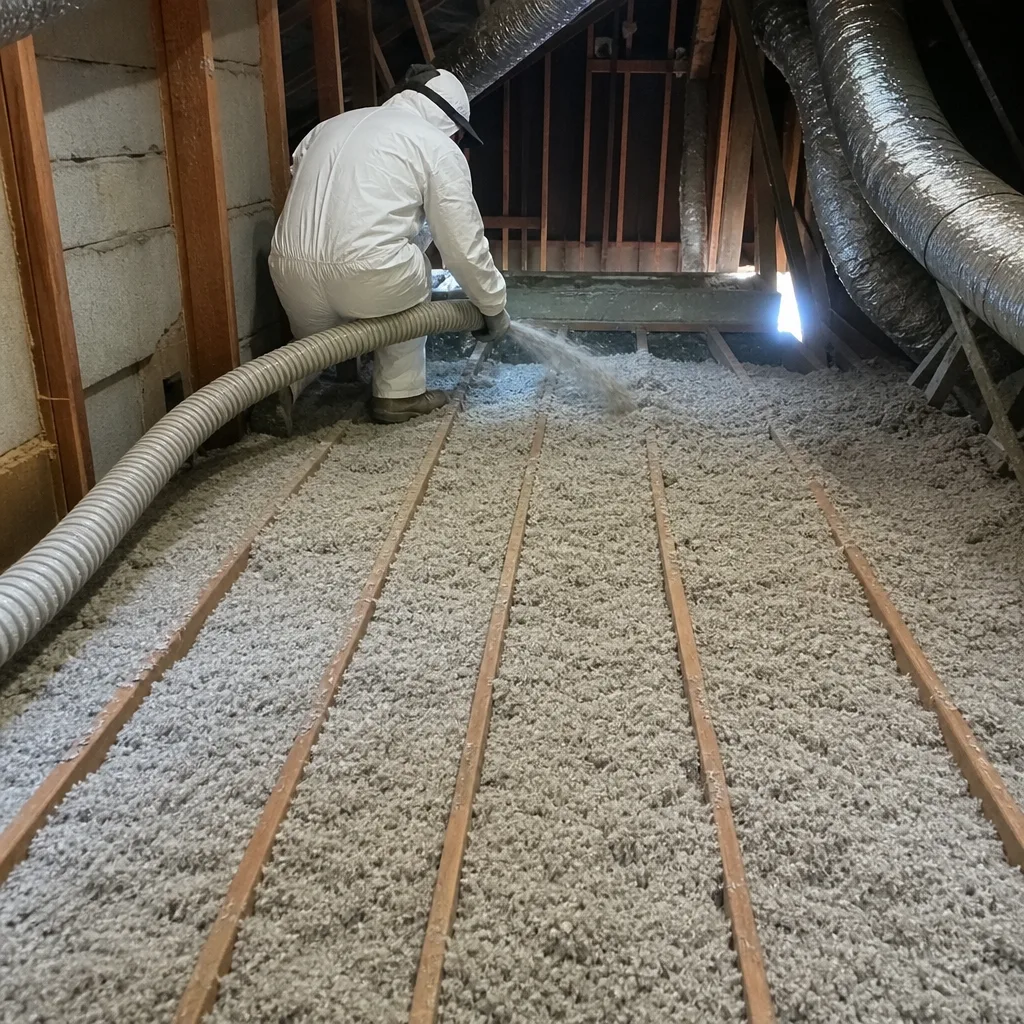
- Why Annual Inspections Matter in Burbank
- The Four Failure Indicators
- How to Measure Settled Depth Correctly
- Reading Moisture Signs on Tile-and-Tar Roofs
- Identifying Pest Evidence by Species
- Checking Hatches, Penetrations, and Air Barriers
- When Visual Inspection Is Not Enough
- Annual Maintenance Schedule for Burbank Climate
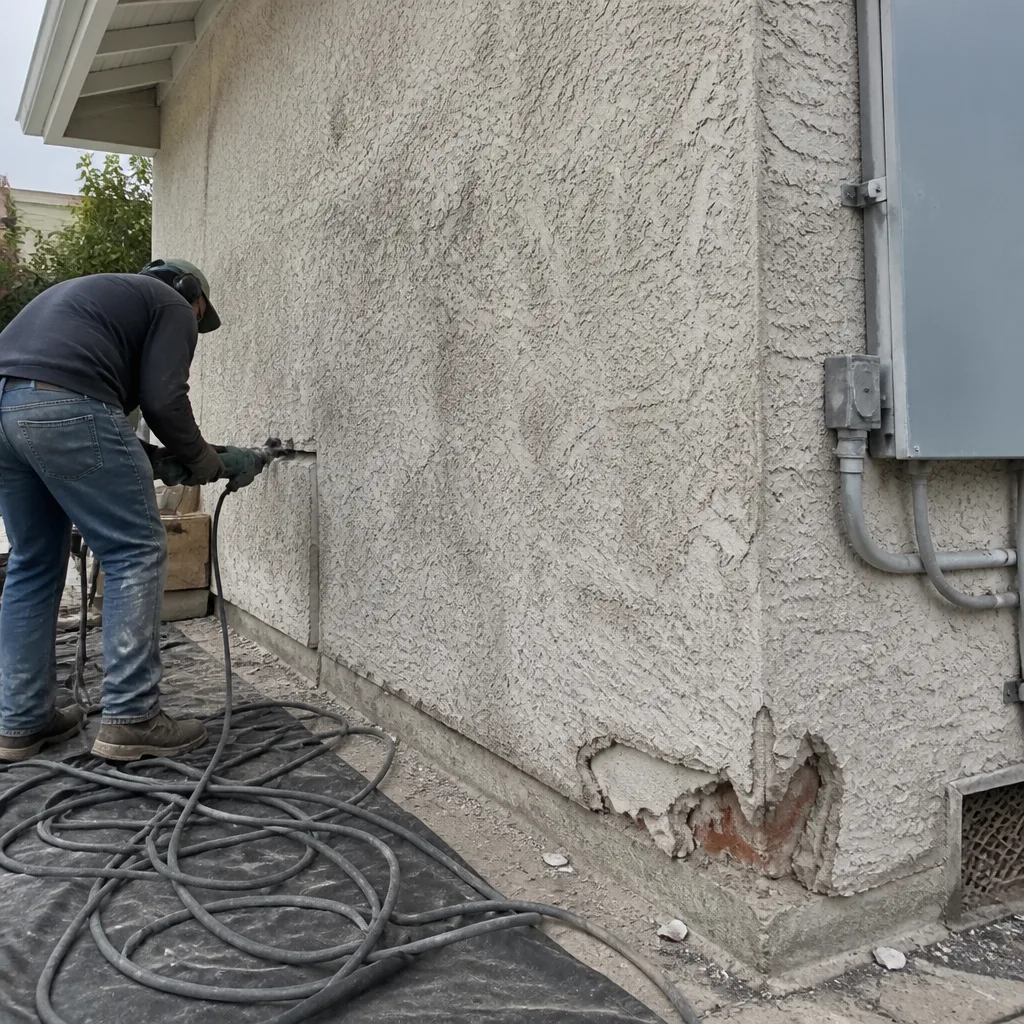 Before
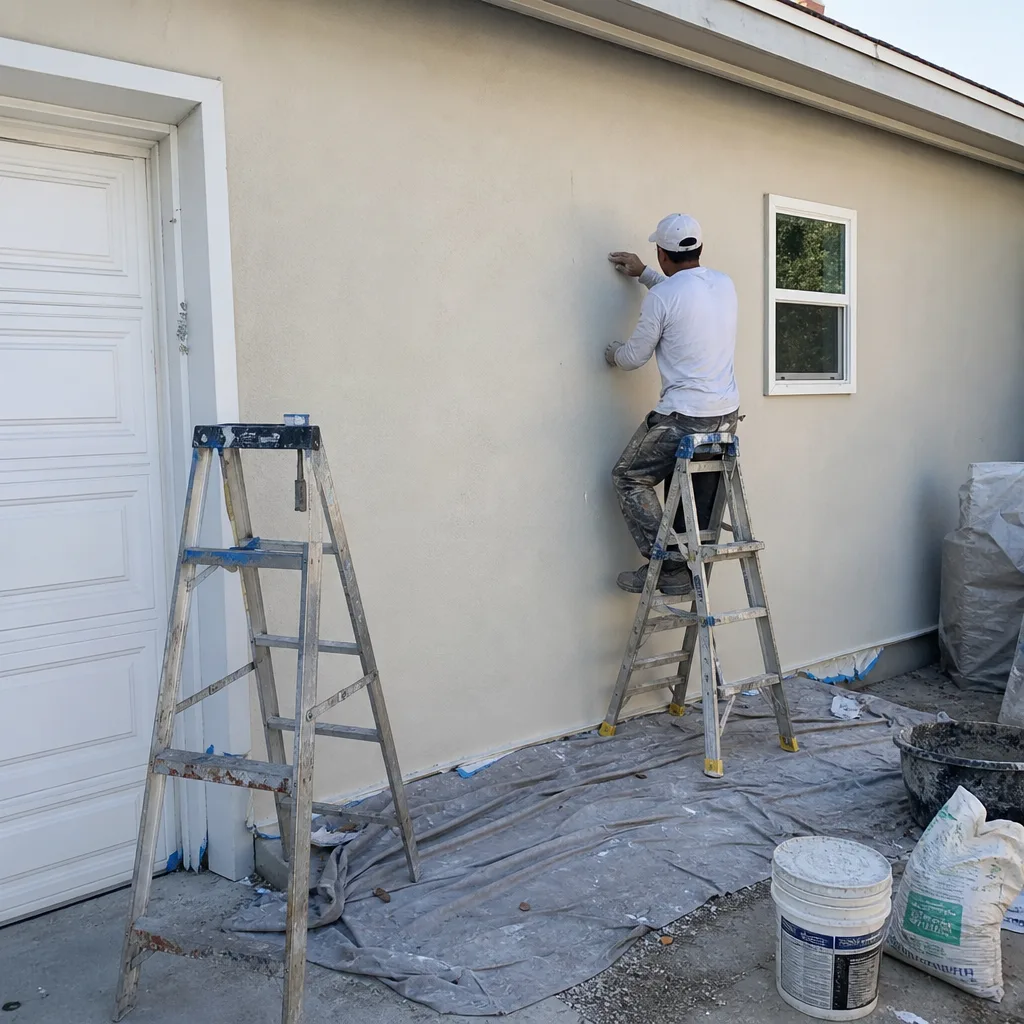 After
AfterWhy Annual Inspections Matter in Burbank
Burbank’s climate sits in a narrow zone that punishes attic assemblies from both directions. Summer days above 95°F create delta-Ts across the ceiling plane that stress every air seal. Winter nights below 40°F reverse the gradient and pull conditioned air upward through any gap. The 210 freeway corridor and Verdugo Mountains create localized wind patterns that pressurize attic vents differently than flatland Los Angeles, which matters because exhaust-only ventilation can backdraft if the envelope isn’t tight.
Most Burbank homes built between 1940 and 1980 carry original or partially upgraded attic insulation. These assemblies were designed for different energy costs and different occupancy patterns. A 1962 ranch in the Rancho neighborhood with R-19 batts compressed under old plywood storage decking performs closer to R-13 in the covered areas, and the decking itself creates thermal bypasses where it meets joists. We’ve pulled up those boards and found original 1960s rock wool settled to 2 inches below the joist tops, with the original stapled depth markers still readable at 6 inches.
The inspection protocol below is built for what we actually find in Burbank attics. It assumes you have a flashlight, a tape measure or ruler, a camera, and roughly 45 minutes. If your attic has active knob-and-tube wiring, stop and call an electrician before proceeding. That wiring is grandfathered in place but cannot be buried under new insulation per California Electrical Code, and disturbing it creates both fire and electrocution hazards.
Key conditions specific to Burbank:
- Tile-and-tar-and-gravel roofs common in the 1950s-1970s stock trap moisture differently than composite shingle assemblies
- Flat roof sections in the Hillside District and near Stough Canyon create internal drainage challenges that can hide slow leaks for months
- Original eave venting in Magnolia Park and the Media District often conflicts with modern air-sealing requirements
- Proximity to wildland-urban interface zones means ember intrusion at gable vents is a real concern during Santa Ana events
The Four Failure Indicators
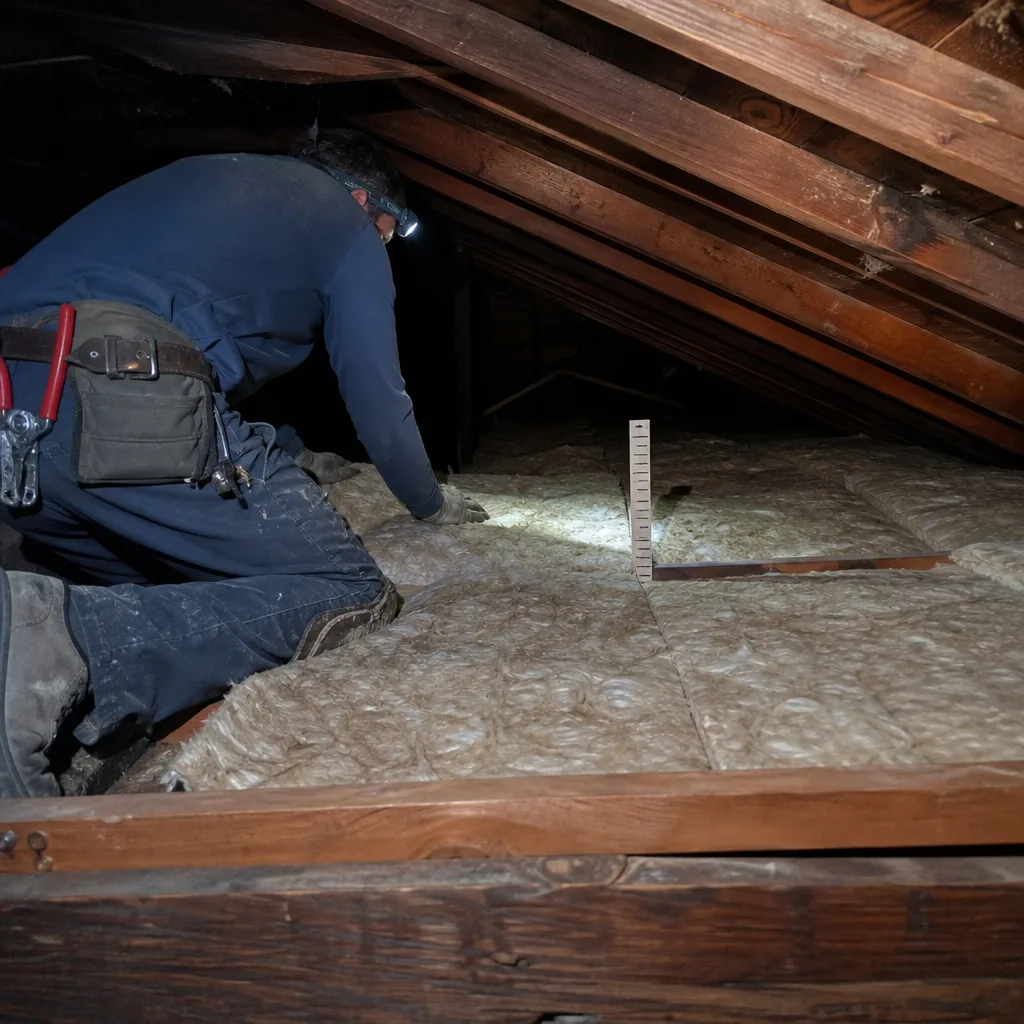
Insulation degradation isn’t mysterious. It follows observable physical sequences that leave evidence. We’ve developed this four-indicator framework from 9,000+ homes sealed and insulated since 2016. Every indicator is something you can see, measure, or photograph. None require specialized equipment.
Indicator 1: Depth Loss from Settling
All loose-fill insulation settles. Cellulose settles 13-20% from installed depth. Fiberglass settles 0-4% if installed at proper density, but older blown fiberglass can slump in areas of high traffic or vibration. The key is knowing what was originally installed and measuring against that benchmark. We’ll cover the measurement protocol in the next section.
Indicator 2: Moisture Contamination
Moisture destroys insulation R-value through three mechanisms: displacement of air pockets in fibrous materials, compression of cellulose fibers as they absorb and release water, and mold growth that creates biofilm bridging between fibers. In Burbank’s tile-and-tar roofs, moisture typically enters slowly through failed flashing or cracked tiles, then migrates along the tar layer before dropping onto insulation below. The staining patterns are distinct from shingle-roof leaks.
Indicator 3: Pest Intrusion
Rats, squirrels, and birds each leave different signatures. Each requires a different remediation sequence before re-insulation. We’ll cover species-specific identification in a dedicated section.
Indicator 4: Air Barrier Breach
The attic floor is your home’s primary air barrier. Every penetration, every hatch, every top plate joint is a potential bypass. An uninsulated, unsealed attic hatch leaks as much air as a 2×3-foot hole in your ceiling. That’s not hyperbole. It’s the equivalent leakage area calculated from blower-door data we’ve collected in Burbank homes.
These four indicators interact. A rat runway through settled cellulose creates an air barrier breach. A roof leak near a can light compromises both the insulation and the electrical enclosure’s air sealing. The checklist is designed to catch these interactions before they compound.
How to Measure Settled Depth Correctly
This is where most DIY inspections fail. Homeowners eyeball the insulation depth, guess at R-value, and miss the critical comparison to original installation specs. Here’s the protocol we use on every Attic Insulation in Burbank assessment.
Step 1: Locate the Original Depth Markers
Professional installations since the 1990s should include cardboard or plastic depth markers stapled to attic joists at intervals. These show the installed depth and often the target R-value. Look for them near the attic hatch, at the center of the space, and near any dormers or additions. In Burbank, we’ve found markers from Owens Corning, GreenFiber, and Johns Manville installations dating back to the 2000s energy-upgrade programs.
If markers are present, photograph them. The photo documents your baseline.
If markers are missing, you have three options:
- Check for building permit records with the City of Burbank Building Division. Insulation upgrades require permits for R-value changes, and the approved plans show specified depth.
- Measure the depth at the attic perimeter where insulation meets the top plate. This area is rarely disturbed and often preserves original depth.
- Estimate based on joist height. Standard 2×8 joists are 7.25 inches actual. 2×10 joists are 9.25 inches. If insulation fills a 2×8 bay flush, that’s approximately R-30 for cellulose or R-25 for fiberglass.
Step 2: Measure at Multiple Points
Use a ruler or tape measure, not a yardstick that compresses the material. Measure at:
- Center of attic (least disturbed)
- Near eaves (most prone to wind washing and settling)
- Near any HVAC ducts or equipment (vibration compaction)
- Under any plywood storage decking (compression from foot traffic)
- Near any prior repair areas (disturbance from trades)
Record each measurement. Variation of more than 1 inch between points indicates uneven installation or localized settling that needs correction.
Step 3: Calculate R-Value Loss
Cellulose: R-3.2 to R-3.8 per inch. Fiberglass: R-2.2 to R-2.9 per inch. Mineral wool: R-3.0 to R-3.3 per inch.
If your original marker shows 10 inches of cellulose (R-38) and you measure 7.5 inches, you’ve lost roughly R-8 to R-10. That’s the difference between code-minimum and substandard performance. In Burbank’s climate, that gap shows up as a 12-18% increase in cooling load.
Step 4: Photograph and Document
Every measurement gets a photo with the ruler visible. This documentation becomes your baseline for next year’s inspection and your evidence if you need to file a warranty claim or pursue a contractor correction. Under Haven Standard Clause 1, we provide a written scope and written warranty before any work starts, and we encourage homeowners to maintain their own parallel documentation.
When depth loss exceeds 20% from installed markers, or when any area falls below current California Title 24 requirements (R-38 for attic floors in Climate Zone 9, which includes Burbank), it’s time to consider adding insulation or full replacement.
Reading Moisture Signs on Tile-and-Tar Roofs
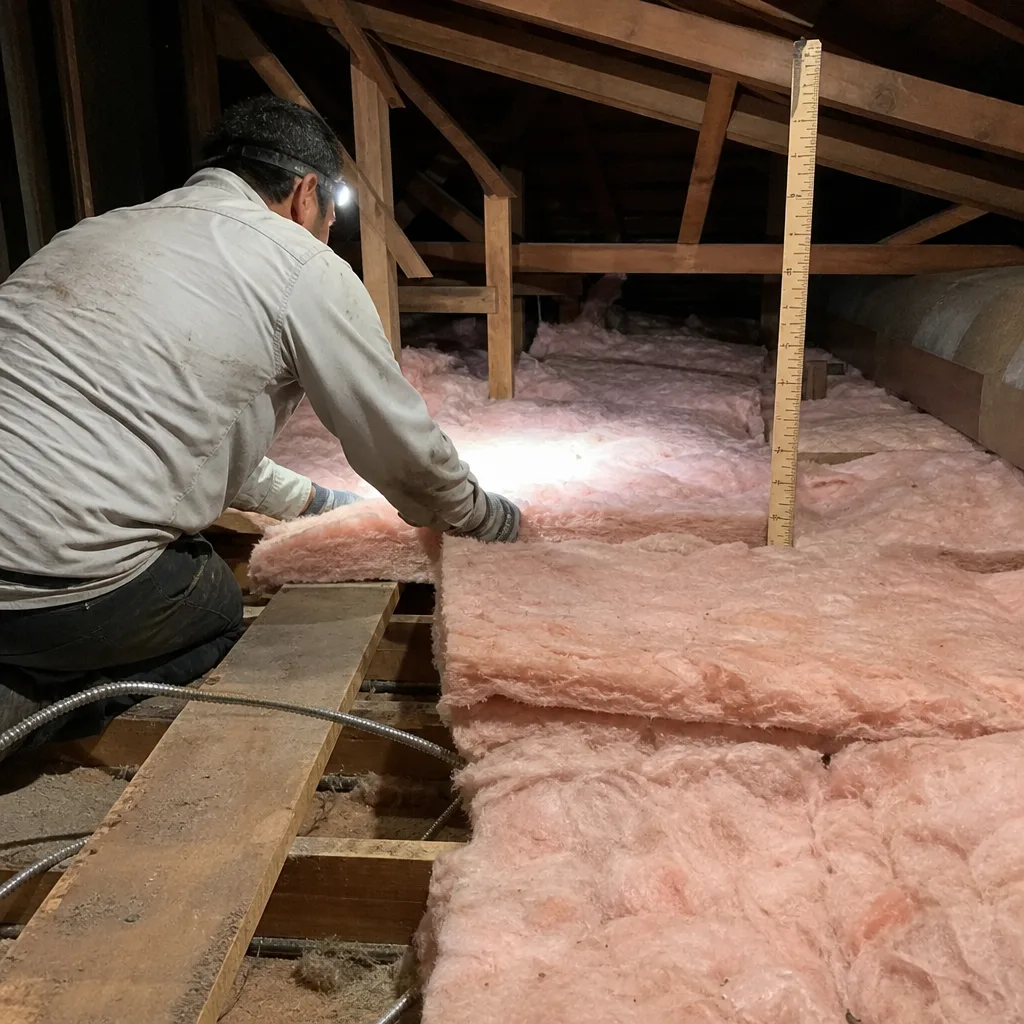
Burbank’s housing stock includes thousands of homes with clay tile or concrete tile roofs over tar-and-gravel base layers. These assemblies perform well in our climate but fail differently than composite shingles. The tar layer is your waterproofing. The tile is your UV and impact protection. When the tar cracks or the tile shifts, water enters slowly and travels laterally before dropping.
This creates four specific staining patterns on insulation that you can learn to read:
Pattern 1: Concentric Staining Rings on Insulation Surface
Water drops from a small leak point and spreads outward in the insulation, carrying dissolved tar and roofing oils. The result is a bullseye pattern with darker outer rings and lighter centers. Diameter typically 6-18 inches. In cellulose, the rings are brown to black. In fiberglass, they’re gray to yellow. These rings indicate an active or recently active leak. The insulation in the affected area has lost significant R-value and may harbor mold.
Pattern 2: Rust Bleed from Joist Hangers
Metal joist hangers and hurricane ties rust when exposed to sustained moisture. The rust runs down onto insulation below, creating orange-brown streaks. This is a lagging indicator. The leak has been active long enough to corrode steel. In Burbank’s dry climate, visible rust bleed means months of intermittent wetting, not a single rain event. Check the roof above immediately.
Pattern 3: White Efflorescence on Blocking
When moisture moves through wood and evaporates, it deposits dissolved minerals as white crystalline growth. You’ll see this on blocking between joists, on the sides of rafters, and sometimes on the top surface of top plates. It looks like salt or frost. Efflorescence means water is moving through the assembly, not just sitting on the surface. The source is often a failed tile above a horizontal tar seam.
Pattern 4: Soft Spots in Attic Floor Decking
Walk the attic floor carefully, testing plywood or OSB decking with your weight. Soft spots that flex or compress indicate delamination from moisture exposure. This is structural damage, not just insulation failure. Document with photos and call a roofing contractor before proceeding with any insulation work.
In the Burbank Hills, where homes have more complex roof geometry and greater exposure to wind-driven rain, we’ve found that leaks often enter at valley flashings and travel 8-12 feet along rafter bays before exiting. The insulation staining may be far from the actual roof defect. When you find any of these four patterns, trace uphill and upslope before concluding you’ve found the source.
Never add insulation over wet or stained material. The new layer traps moisture, accelerates decay, and creates conditions for attic mold that can affect indoor air quality. Remove affected insulation, repair the roof, allow the assembly to dry completely (typically 2-4 weeks in Burbank’s climate), then reinsulate.
Identifying Pest Evidence by Species
Burbank’s urban-wildland interface and mature tree canopy support significant roof rat and squirrel populations. Birds nest in eave gaps and uncapped vents. Each pest creates distinct damage that requires a different remediation sequence before insulation can be restored.
Roof Rats (Rattus rattus)
These are the dominant pest in Burbank attics. They’re excellent climbers, entering through gaps as small as 1/2 inch at eave intersections, vent screens, and utility penetrations.
Identification:
- Runways: Compressed channels 2-3 inches wide through loose-fill insulation, often following joist lines or utility lines
- Droppings: Tapered, spindle-shaped, 12-13mm long, dark brown to black when fresh, gray and crumbly when old
- Urine: Visible as crystallized deposits on wood surfaces under UV light; causes cellulose to clump and discolor
- Gnawing: Parallel tooth marks on wood, plastic, or soft metal; electrical cable damage is common and dangerous
The critical detail: rat urine in cellulose wicks laterally 6-12 inches from the runway center. The material may look undisturbed at the surface but be contaminated below. We’ve tested samples from apparently intact areas adjacent to runways and found bacterial loading that meets CDC criteria for removal.
Remediation sequence: Exclusion first. Seal all entry points with 1/4-inch hardware cloth, copper mesh, or concrete patch depending on substrate. Remove contaminated insulation. Treat wood surfaces with enzyme cleaner. Verify no active infestation with 48 hours of trap monitoring. Only then install new insulation.
Ground Squirrels and Tree Squirrels
Less common in Burbank attics than roof rats, but present in hillside areas near Wildwood Canyon and Stough Park.
Identification:
- Larger droppings: 8-10mm, more rounded than rat droppings, often found in single piles rather than scattered
- Nest material: Leaves, twigs, and shredded insulation packed into a defined bowl shape, often in corners or near gable vents
- Entry holes: 2-3 inches, frequently through fascia or soffit rather than eave gaps
Squirrels are diurnal and noisy. If you hear daytime activity, suspect squirrels over rats.
Birds
English house sparrows, starlings, and occasionally pigeons enter through uncapped vents and damaged screens.
Identification:
- Nest material: Straw, grass, and feathers in a cup shape, often wedged into corners
- Droppings: White and gray paste, concentrated below roosting points
- Damage: Minimal insulation displacement, but significant contamination from droppings and mites
Bird nests in vents create fire hazards and carbon monoxide risks by blocking exhaust. Remove nests during non-nesting season (September through February) and install vent caps with 1/2-inch mesh.
Documentation for All Pest Findings
Photograph the evidence before disturbing it. Note location relative to fixed landmarks (hatch location, HVAC unit, chimney). This documentation helps pest control professionals target treatment and helps us at Topside Attic Insulation Burbank home plan insulation restoration. We include a Documented Photo Record on every visit, and we ask homeowners to share their own photos before we arrive so we can scope the work accurately.
Checking Hatches, Penetrations, and Air Barriers
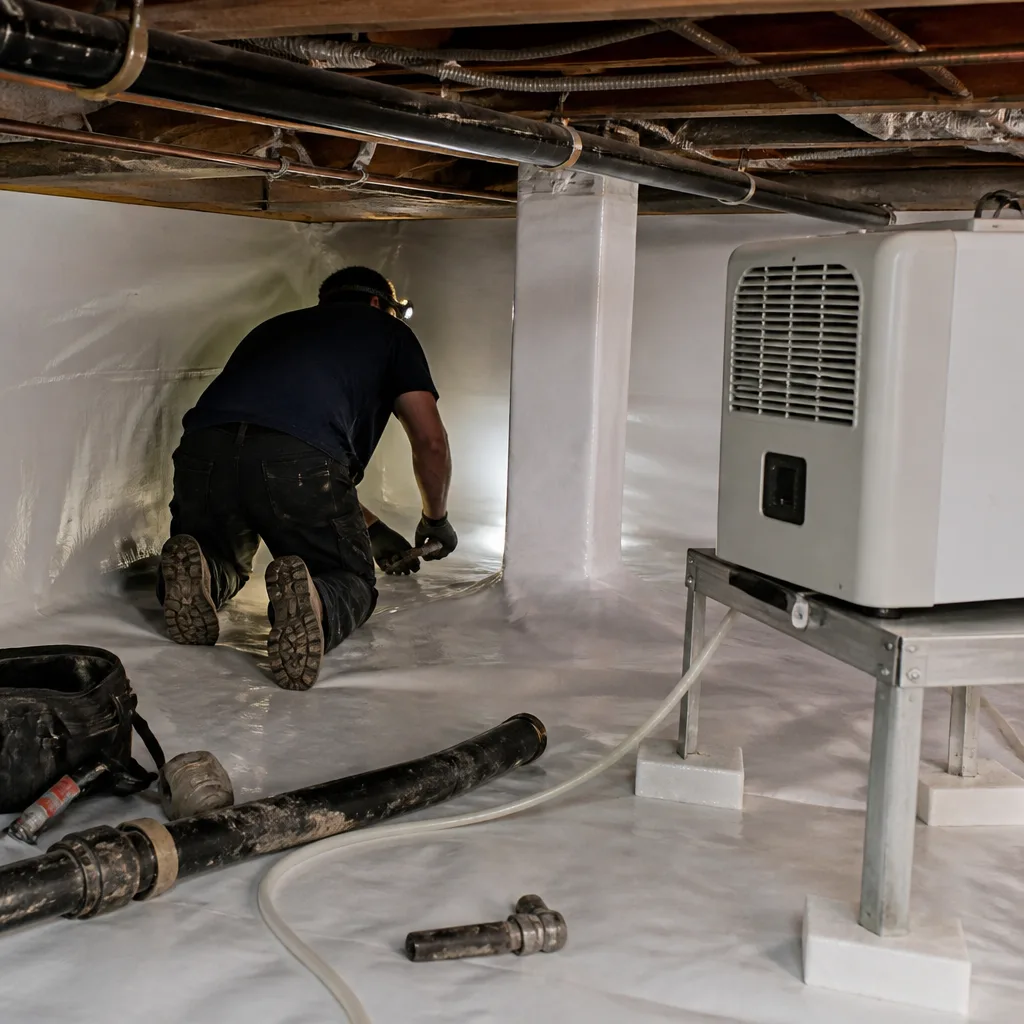
The attic floor is a sieve of intentional and unintentional holes. Every one is a thermal bypass and many are air quality risks. This section covers the specific checks that matter in Burbank’s housing stock.
Attic Hatch
The hatch is the most commonly overlooked leak in the attic assembly. An uninsulated, unsealed attic hatch in a conditioned home leaks approximately as much air as a 2×3-foot open window. We’ve measured this repeatedly with blower-door testing, as detailed in our more guides & resources.
Checklist:
- Lift the hatch and inspect the weatherstripping on the trim frame. It should be continuous, compressible, and intact. Common failure: compression set in old foam tape, or gaps at corners where tape segments meet.
- Check that the hatch cover itself has insulation attached to the attic side. Rigid foam board cut to fit and foamed at edges is the standard detail. Thickness should match or exceed attic floor insulation depth.
- Verify that the hatch closes against the weatherstrip with even pressure all around. A warped door or sagging frame creates gaps.
- Look for light leaks around the perimeter when the hatch is closed from below. Any visible light is measurable air leakage.
In Burbank’s 1940s-1960s bungalows, original hatches are often 18×24 inches with no insulation and no seal. These are priority upgrades. We install custom-built insulated hatch assemblies with magnetic seals and pull-down ladders where headroom allows.
Can Lights and Electrical Penetrations
Recessed can lights are the worst offenders in most Burbank attics. Older IC-rated cans still leak air around the housing edge. Non-IC cans create both fire hazards and massive air leaks.
Checklist:
- Identify every can light. Look for the rating label: IC (insulation contact) or NON-IC. Non-IC cans must have 3 inches of clearance to insulation on all sides. Most don’t.
- Check for pre-formed covers (Tenmat or similar) over IC cans. These should be in place and sealed to drywall with caulk or foam.
- Inspect wire penetrations through top plates. Each hole should be sealed with fire-rated caulk or foam. Gaps of 1/4 inch or more are common and significant.
- Look for exhaust fan housings. Bathroom fans often dump moist air into attics rather than through ducted vents. The housing should be connected to rigid or flex duct leading to a roof or gable vent.
Plumbing and Chimney Penetrations
Plumbing vent stacks pass through the attic floor with a flange that should be sealed to the decking. The stack itself should be insulated where it passes through attic space to prevent condensation.
Chimney chases are major air leaks. The framing around a masonry chimney should have metal flashing and fire-stop foam at the attic floor. We’ve found 1-inch gaps in Burbank homes that were leaking conditioned air for decades.
Ductwork and HVAC
Flex duct in attics is common in Burbank’s 1970s-1990s construction. Check:
- Connections at plenum and register boots: should be sealed with mastic, not tape alone
- Kinks and compression: flex duct bent across joists loses 30%+ airflow capacity
- Insulation integrity: torn or wet duct insulation is a double failure, losing both thermal and air barrier function
When we perform Spray Foam Insulation in Burbank jobs, we often find that duct sealing yields more comfort improvement than additional insulation. The two should be addressed together, not in isolation.
When Visual Inspection Is Not Enough
Some conditions can’t be diagnosed by eye. You need instrumentation, and in Burbank’s competitive energy market, the cost of testing is usually recovered in the first year through corrected efficiency.
Trigger 1: Bill Increase Over 15% Year-Over-Year
If your SCE bill for comparable months has risen more than 15% with no change in HVAC equipment, thermostat setting, or occupancy, you have an envelope failure. The most common cause is air leakage that bypasses insulation, but duct leakage and equipment degradation also contribute. A blower-door test identifies which.
The blower-door test is a pressurization measurement that shows, in one number, how much air your building envelope is losing. We conduct the test at 50 Pascals of pressure difference, expressed as CFM50 (cubic feet per minute at 50 Pascals). A typical 1,500-square-foot Burbank home from the 1950s tests at 3,500-5,000 CFM50 before air sealing. After comprehensive sealing and insulation, we target 2,000 CFM50 or below.
We publish before-and-after blower-door numbers on every applicable job. Homeowners receive the documentation. The numbers don’t lie about what was achieved.
Trigger 2: Uneven Room Temperatures
A room that won’t heat or cool evenly with the rest of the house often has an attic-side defect. Bypassed insulation over a top plate, a disconnected duct, or a large air leak at a wiring penetration can all create localized comfort problems. Infrared imaging during a blower-door test makes these visible.
Trigger 3: Post-Pest or Post-Water Damage
After any pest remediation or roof repair, you need verification that the air barrier is intact. Visual inspection can’t confirm this. A blower-door test with theatrical smoke reveals the leaks that remain.
Trigger 4: Pre-Purchase or Pre-Sale
Burbank’s real estate market moves fast, but informed buyers are increasingly requesting energy assessments. A documented blower-door result adds transferable value. Sellers who commission testing and correction before listing avoid negotiation deductions.
We offer home energy audits that include blower-door testing, infrared scanning, and combustion safety checks. The audit produces a prioritized scope with written pricing. Under Haven Standard, you get the written price before any work starts, and a 365-Day Done Right Promise on all completed work.
Annual Maintenance Schedule for Burbank Climate
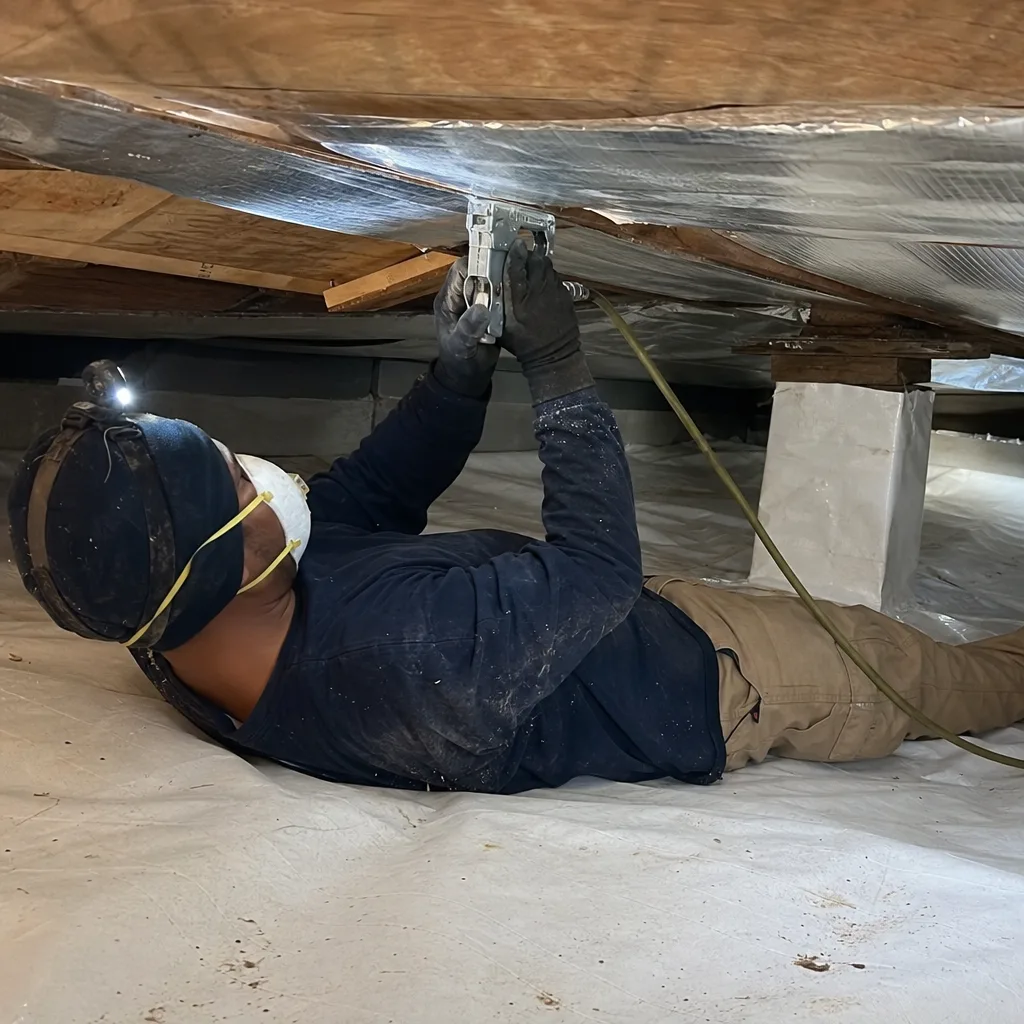
Timing your inspection to the climate maximizes what you can detect and correct before peak load seasons.
March: Pre-Cooling Season Inspection
Inspect after the winter rains but before first sustained heat. This is the best time to find moisture damage from the rainy season while it’s still fresh. Check all four indicators. Photograph baseline conditions. Schedule any roof repairs or insulation additions before May, when attic temperatures become dangerous for crew work and material installation becomes harder to quality-control.
June: Mid-Summer Spot Check
After the first heat wave, check the attic hatch seal and any visible ductwork. High delta-T reveals air leaks that were invisible in mild weather. If a room has become harder to cool, inspect the corresponding attic area for displaced insulation or disconnected ducts.
October: Pre-Heating Season Inspection
Check for pest entry before rodents seek winter harborage. Roof rat activity peaks in October-November in Burbank. Look for new gnawing, fresh droppings, or disturbed insulation. Seal any new entry points before adding insulation.
December: Post-Rain Assessment
After the first significant winter rains, check tile roofs and flat roof sections for new leaks. The four moisture patterns are easiest to read when fresh.
Documentation Cycle
Each inspection gets dated photos stored with previous years. Trend analysis over 3-5 years reveals degradation rates that single inspections miss. A homeowner who documents 1/2 inch of settling per year knows exactly when to schedule addition. One who discovers 3 inches of settling in year five has already paid for inefficient operation that whole time.
For homes with Crawl Space Encapsulation & Vapor Barrier in Burbank, coordinate attic and crawl inspections in the same seasonal cycle. The building envelope is a single system, and defects in one zone often correlate with defects in the other.
Common Mistakes to Avoid
- Adding insulation over unsealed air leaks. New insulation blown over a leaky attic floor performs like a windbreaker with the zipper open. The conditioned air escapes through gaps, and the insulation just filters the draft. We never install over an unsealed floor.
- Compressing insulation with storage decking. Every square foot of plywood laid on joists compresses the insulation below and creates a thermal bridge. If you need attic storage, build a raised platform above the insulation plane, or use scissor trusses designed for the load.
- Blocking eave vents with added insulation. Burbank homes need attic ventilation to manage summer heat and winter moisture. Baffles must maintain a 1-inch clear air path from soffit to ridge. We’ve found baffles collapsed or omitted in half the homes we inspect in the Magnolia Park area.
- Ignoring the hatch after upgrading floor insulation. An R-49 attic floor with an R-0 hatch is like wearing a winter coat with no buttons. The heat goes straight out the gap. Always upgrade the hatch to match or exceed floor R-value.
- DIY pest remediation without exclusion. Poisoned rats die in walls and create secondary insect problems. Trapping without sealing entry points wastes effort. The correct sequence is exclusion, then removal, then restoration.
- Assuming flat roofs don’t leak slowly. Burbank’s tar-and-gravel flat roofs on mid-century homes in the Rancho and Hillside areas often leak for months before showing ceiling stains. By then, insulation is saturated and framing may be damaged. Annual attic inspection catches these early.
- Skipping documentation. Without photos and measurements, you can’t prove degradation, can’t support warranty claims, and can’t make informed decisions about timing. The 15 minutes spent documenting saves hundreds in premature replacement or missed efficiency.
When to Call a Professional
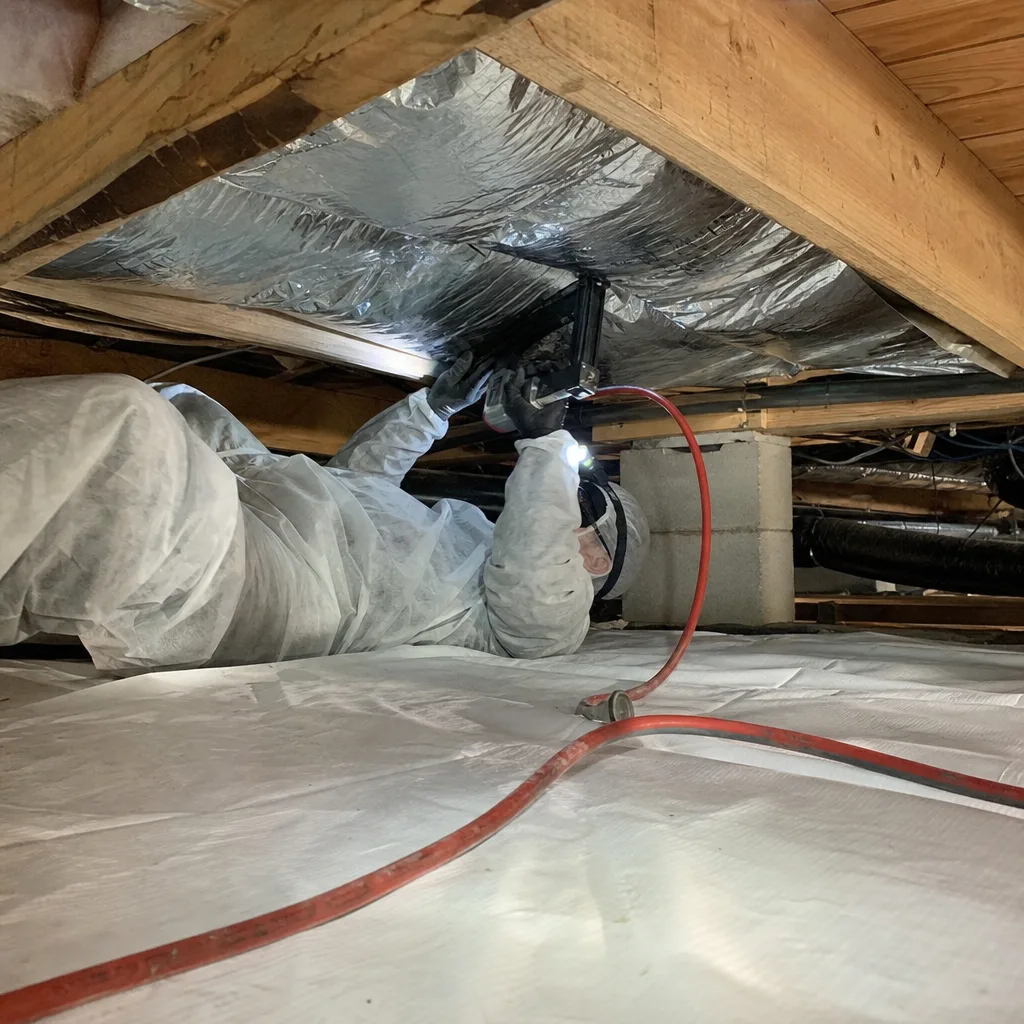
Call for professional assessment when you find active moisture, pest contamination, electrical hazards, or when your bills indicate envelope failure that visual inspection can’t explain. We also recommend professional help for any attic with active knob-and-tube wiring, structural damage to decking, or insulation containing vermiculite (which may contain asbestos and requires specialized removal).
Topside Attic Insulation Burbank offers free estimates in Burbank. We’ll inspect your attic, measure blower-door performance if indicated, and provide a written scope with flat pricing before any work starts. Call (213) 816-1699 to schedule. Every job includes a Documented Photo Record, and on applicable work, we publish before-and-after blower-door numbers so you can verify the result.
Frequently Asked Questions
Inspect annually, with focused checks in March before cooling season and October before rodent harborage season. Burbank’s climate creates peak stress in both summer and winter, so a single annual check often misses time-sensitive issues like fresh moisture or early pest entry.
Most attic insulation jobs in a Burbank home of 1,200-2,000 square feet run between $2,800 and $5,400 for loose-fill cellulose or fiberglass addition over existing material, including air sealing of top plates, can lights, and penetrations. Full removal and replacement with new insulation ranges from $4,500 to $8,200 depending on access, contamination, and material choice. Spray foam applications start higher due to material and labor intensity. We provide a written price before any work starts, with no obligation. Call (213) 816-1699 for an exact quote on your specific attic.
Yes, if the old insulation is dry, uncontaminated, and uncompressed. No, if there’s moisture damage, pest evidence, or vermiculite. In Burbank, we often find that 1980s-1990s fiberglass can be capped with new cellulose or fiberglass, but 1960s-1970s rock wool or early cellulose has settled too far to be worth preserving. The inspection protocol in this guide tells you which condition yours is in.
California Title 24 requires R-38 minimum for attic floors in Climate Zone 9, which includes all of Burbank. Many homeowners target R-49 to R-60 for improved performance given our summer peak loads. The practical limit is often joist depth; raising above joist level requires a raised floor system or dense-pack application in sloped ceilings.
Check for continuous soffit vents with clear baffles, ridge vents or gable vents that aren’t blocked, and no signs of moisture accumulation on roof decking. In Burbank, we calculate ventilation using the 1:300 rule (1 square foot of net free vent area per 300 square feet of attic floor). Many older homes in the Media District and Magnolia Park have insufficient venting that was never upgraded when insulation was added.
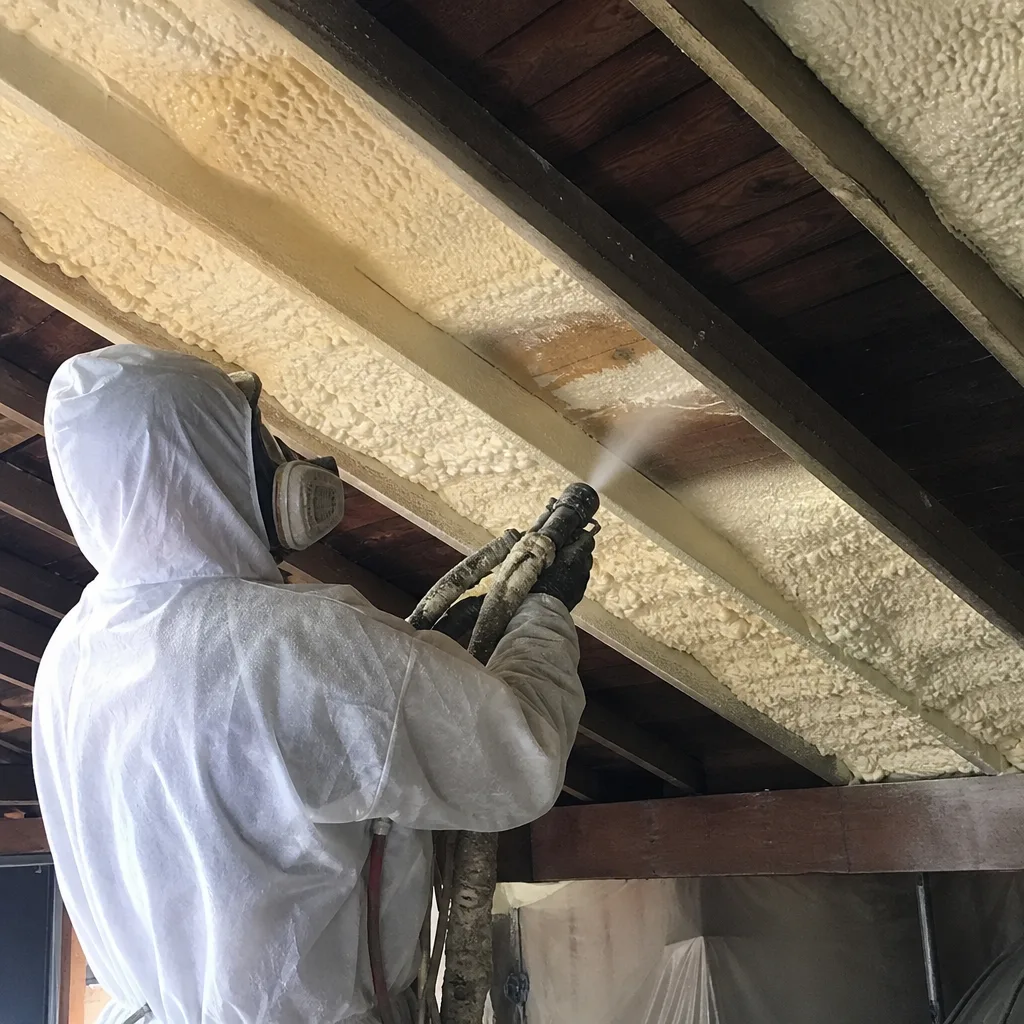
Spray foam, including open-cell products like Icynene and Demilec, excels at air sealing and performs well in Burbank’s climate when applied to roof decks for conditioned attics or to complex geometries where loose-fill won’t perform. For standard vented attics with flat floors, high-density loose-fill with meticulous air sealing often achieves comparable performance at lower cost. We evaluate each home individually and specify materials from Owens Corning, Johns Manville, Knauf, and other manufacturers without product lock-in. Call (213) 816-1699 to discuss whether spray foam fits your specific situation.
The Bottom Line
Attic insulation maintenance isn’t about periodic replacement. It’s about reading specific, measurable indicators before they compound into comfort problems and energy waste. Burbank homeowners who inspect annually for settled depth, moisture patterns, pest evidence, and air barrier integrity catch degradation early, when correction is localized and affordable. Those who wait for ceiling stains or spiking bills face full removal, structural repair, and months of inefficient operation. Document every inspection. Measure against benchmarks. And when visual inspection can’t explain what your bills are telling you, get a blower-door test for the numbers that clarify what your eyes can’t see.
Written by Wes Okafor, Owner at Topside Attic Insulation Burbank, serving Burbank since 2016.