
Last updated September 23, 2026
DIY vs Professional Insulation: The Burbank Homeowner’s Decision Guide
A Burbank homeowner who rents a blower from Home Depot and installs R-38 cellulose in a Saturday afternoon has almost certainly buried their attic bypasses under 10 inches of insulation. The only way to find and seal those leaks afterward is to pull the insulation back out, and no remediation contractor in Burbank will do that for less than the original professional job would have cost. In this guide, we’ll show you exactly which insulation tasks are safe to self-perform, which require professional equipment or licensed work under California code, and how to read your attic floor to know which category you’re actually in before you rent any equipment. For insulation permits, codes & inspections in CA: what you need to know, see our dedicated resource.
Quick Answer
DIY insulation in Burbank makes financial sense only when your attic is already air-sealed, already permitted, and simply needs additional blown-in depth to reach current code. In every other scenario, the cost of correcting a sequencing error, removing contaminated insulation, or generating the Title 24 CF2R documentation required for resale or rebate claims exceeds the cost of hiring a professional who seals first and insulates second.
Table of Contents
- Why Sequencing Matters More Than Price in Burbank
- Insulation Tasks a Competent DIYer Can Actually Perform
- What Requires Professional Equipment or Licensed Work
- How to Quantify the True DIY Cost
- How to Read Your Attic Floor: Four Visual Indicators
- The One Scenario Where DIY Saves Money
- Common Mistakes to Avoid
- When to Call a Professional
- Frequently Asked Questions
- The Bottom Line
 Before
 After
AfterWhy Sequencing Matters More Than Price in Burbank
The DIY-versus-professional debate is usually framed as a money question. In Burbank’s climate and regulatory environment, it’s a sequencing question.
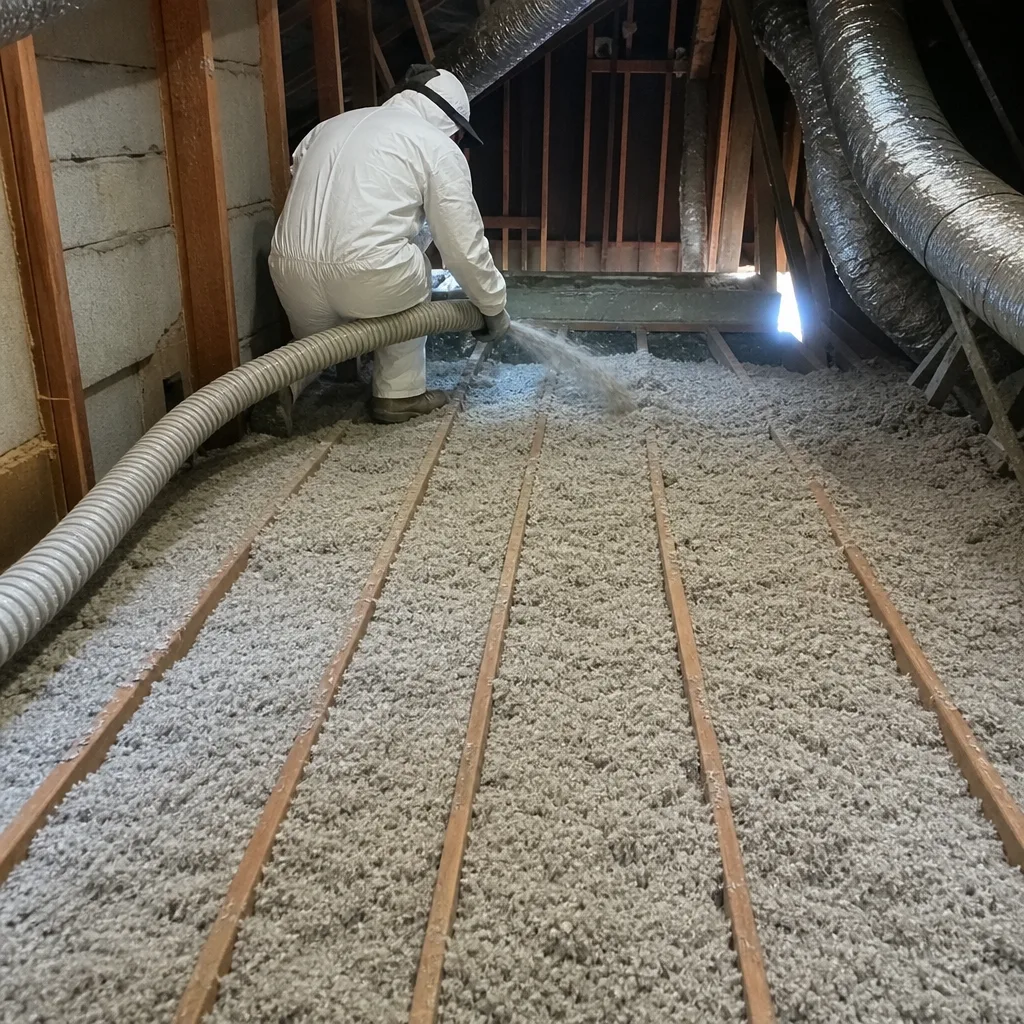
Blown-in insulation installed before attic air leaks are sealed locks those bypasses under material that cannot be moved without industrial vacuum equipment. Top plates, can light penetrations, plumbing and electrical chases, and the gap where drywall meets the top plate in platform-framed walls, these are the paths that carry conditioned air from your living space into the vented attic. Once cellulose or fiberglass covers them, you cannot locate them visually. You cannot reach them with a caulk gun. The only remediation is removal and reinstallation.
We’ve seen this in Burbank’s Topside Attic Insulation Burbank home assessments, particularly in the hillside neighborhoods above Glenoaks Boulevard and in the older stock near Magnolia Park built between 1940 and 1970. These homes have complex rooflines with multiple dormers, meaning more penetrations, more top plates, and more opportunities for a DIY job to bury the very leaks that matter most. The blower-door test, a pressurization reading that shows in one number how much air your building envelope is losing, typically reads 3,500 to 5,500 CFM50 in these homes before sealing. After proper air sealing and insulation, we expect 2,000 to 2,800 CFM50. A DIY insulation job that skips sealing leaves the first number essentially unchanged while adding material cost.
Burbank’s climate amplifies the penalty. Summer days above 95 degrees are common in the San Fernando Valley, and winter nights below 45 degrees occur regularly from December through February. An unsealed attic with fresh insulation performs like a jacket with the zipper broken: the material is there, but the air moves through it.
Insulation Tasks a Competent DIYer Can Actually Perform
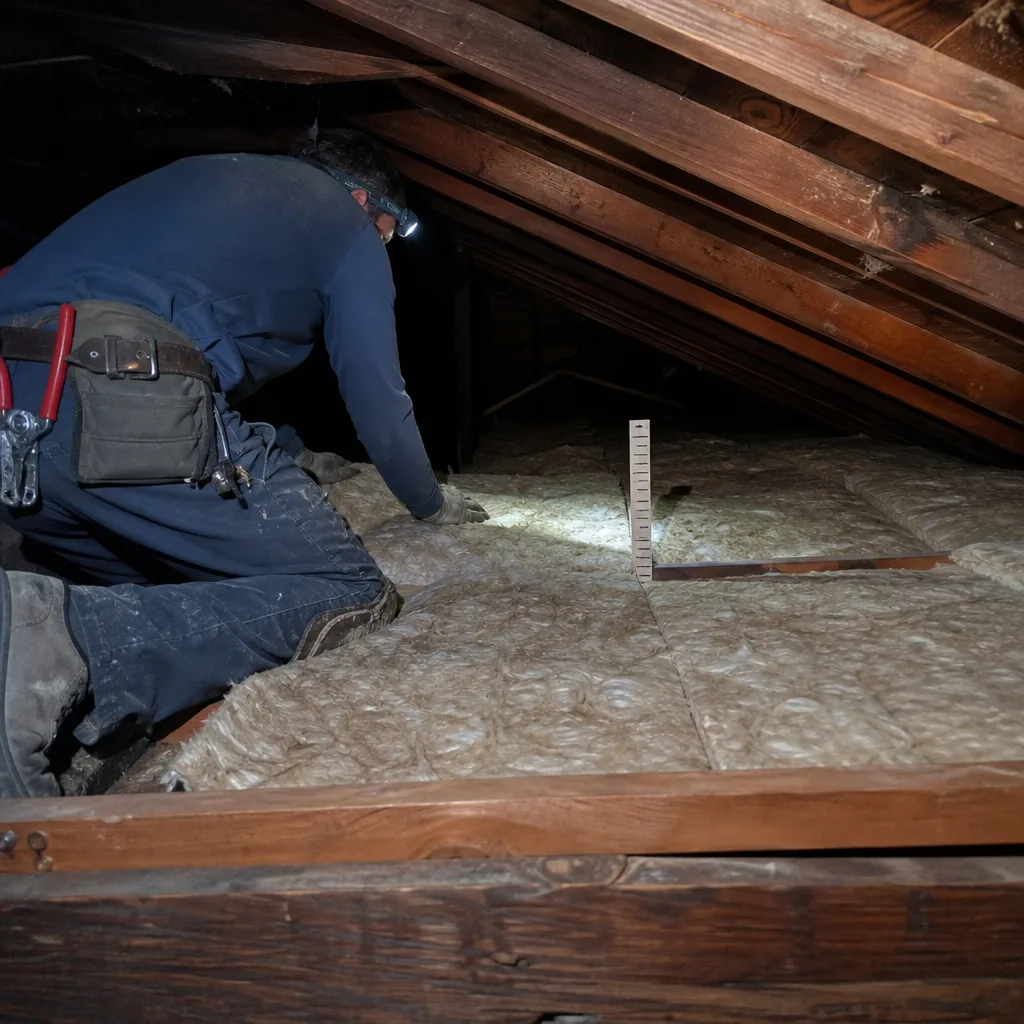
There are three insulation tasks that do not require professional equipment, do not trigger California licensing requirements, and do not risk the sequencing error described above. Each has strict preconditions.
1. Adding Blown-In Depth to an Already-Sealed Attic
If your attic floor shows evidence of prior air sealing, you can rent a blower and add cellulose or fiberglass to reach current Title 24 code minimums. The precondition is non-negotiable: the attic must already be sealed. You are adding depth, not performing the initial install.
Use GreenFiber cellulose or Owens Corning fiberglass blown-in material, available at retail. Wear a P100 respirator, not a dust mask. The blower rental runs $100-$150 per day at Burbank-area Home Depot or Lowe’s locations. Calculate your needed bags using the manufacturer’s coverage chart, which lists square feet per bag at target depth. Add 10% for settling and blower inefficiency.
2. Installing Batts in an Unconditioned Crawlspace with Clear Access
Crawlspaces with at least 24 inches of vertical clearance, no active moisture problems, and no rodent contamination can receive R-19 to R-30 fiberglass batts installed between joists. The floor must be dry. The vapor barrier, if present, must be intact. If you see standing water, efflorescence on the foundation, or compressed, stained existing insulation, stop. These conditions require professional assessment and likely Crawl Space Encapsulation & Vapor Barrier in Burbank before any insulation work.
Secure batts with wire hangers or nylon twine. Do not compress the material. Compressed fiberglass loses R-value proportionally to its thickness reduction.
3. Replacing an Attic Hatch Cover
An uninsulated attic hatch is a thermal bridge and an air leak. Replacing it with an insulated hatch cover or adding rigid foam board to the existing hatch is straightforward carpentry. Seal the perimeter with weatherstripping. Use at least R-19 equivalent rigid foam. This task is safe because it does not involve moving or disturbing existing insulation that might conceal leaks below.
What Requires Professional Equipment or Licensed Work
California code and practical safety limits exclude several insulation tasks from DIY scope. These are not suggestions. They are legal or technical barriers.
Spray Foam Application
Two-component polyurethane spray foam, whether open-cell or closed-cell, requires EPA Section 608 certification for the refrigerant-based blowing agents in many formulations. In practice, manufacturers including Demilec and Icynene require installer certification through their training programs for warranty coverage. The equipment itself, a plural-component proportioner with heated hoses, costs $15,000-$40,000 and requires calibration for ambient temperature and substrate conditions. Spray Foam Insulation in Burbank is not a rental-grade task.
Work Within 3 Inches of Non-IC-Rated Recessed Fixtures
IC-rated, or insulation-contact-rated, recessed can lights are designed for direct contact with insulation. Non-IC fixtures are not. Insulating within 3 inches of a non-IC fixture creates a fire hazard. In Burbank’s housing stock, particularly homes built 1960-1990, non-IC fixtures are common. A professional can identify the rating from the fixture housing label and install appropriate enclosures or replace the fixtures. A DIYer working from above cannot reliably distinguish IC from non-IC without removing the trim from below, which most homeowners do not do.
Any Scope Triggering a Title 24 CF2R Requirement
California’s Title 24 energy code requires a CF2R, or Certificate of Field Verification and Diagnostic Testing, for insulation work that is part of an energy alteration permit. The CF2R documents R-values, installation quality, and air leakage performance. It is generated by a certified HERS rater, not by the homeowner. Without it, you cannot claim utility rebates, you may face issues at resale, and your permit is incomplete. The DIYer cannot generate this document. The professional contractor coordinates the HERS rater as part of project delivery.
Other professional-only tasks include:
- Insulation removal and disposal, which requires industrial vacuum equipment and hazmat protocols for rodent-contaminated material
- Air sealing with blower-door guidance, the diagnostic method that tells you where the leaks are while you seal them
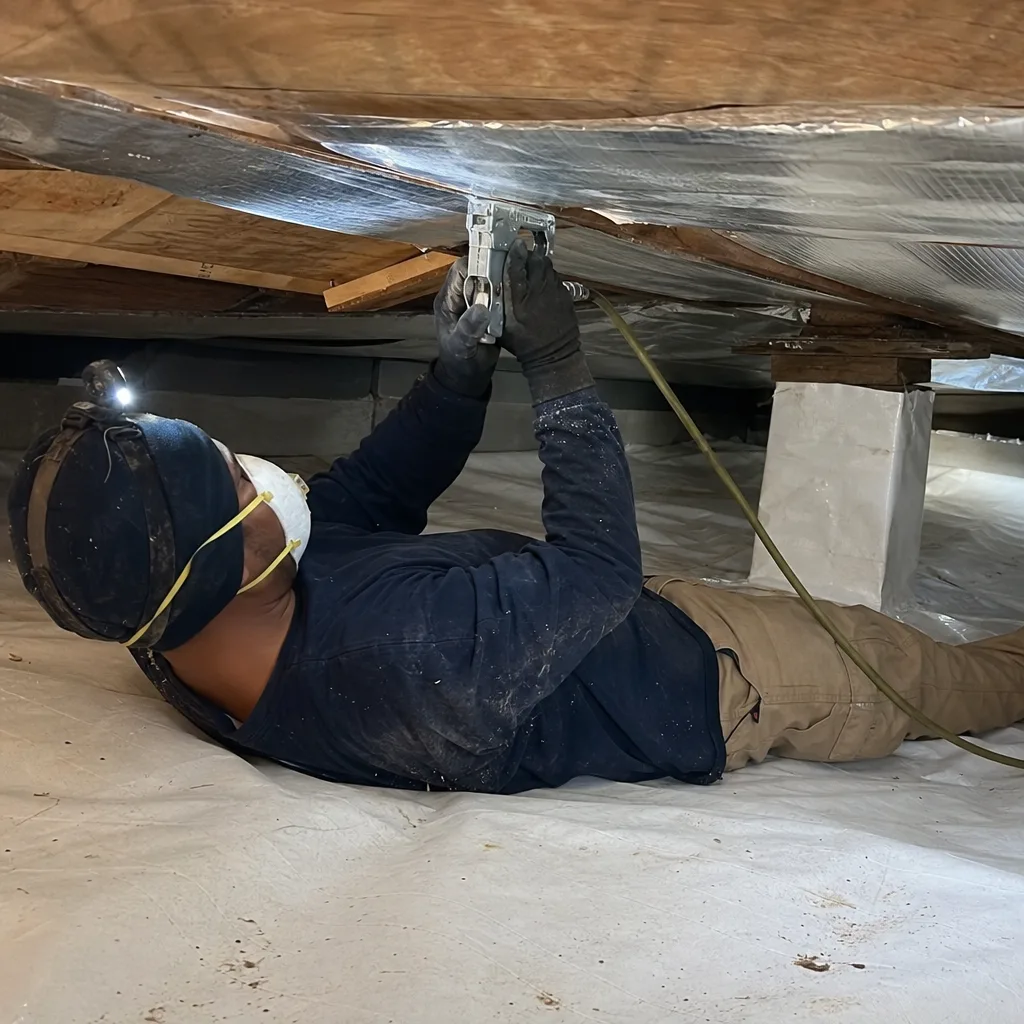
- Radiant barrier installation on roof decks, which involves working at height on angled surfaces with stapling equipment
- Any work involving vermiculite insulation, which may contain asbestos and requires abatement licensing
How to Quantify the True DIY Cost
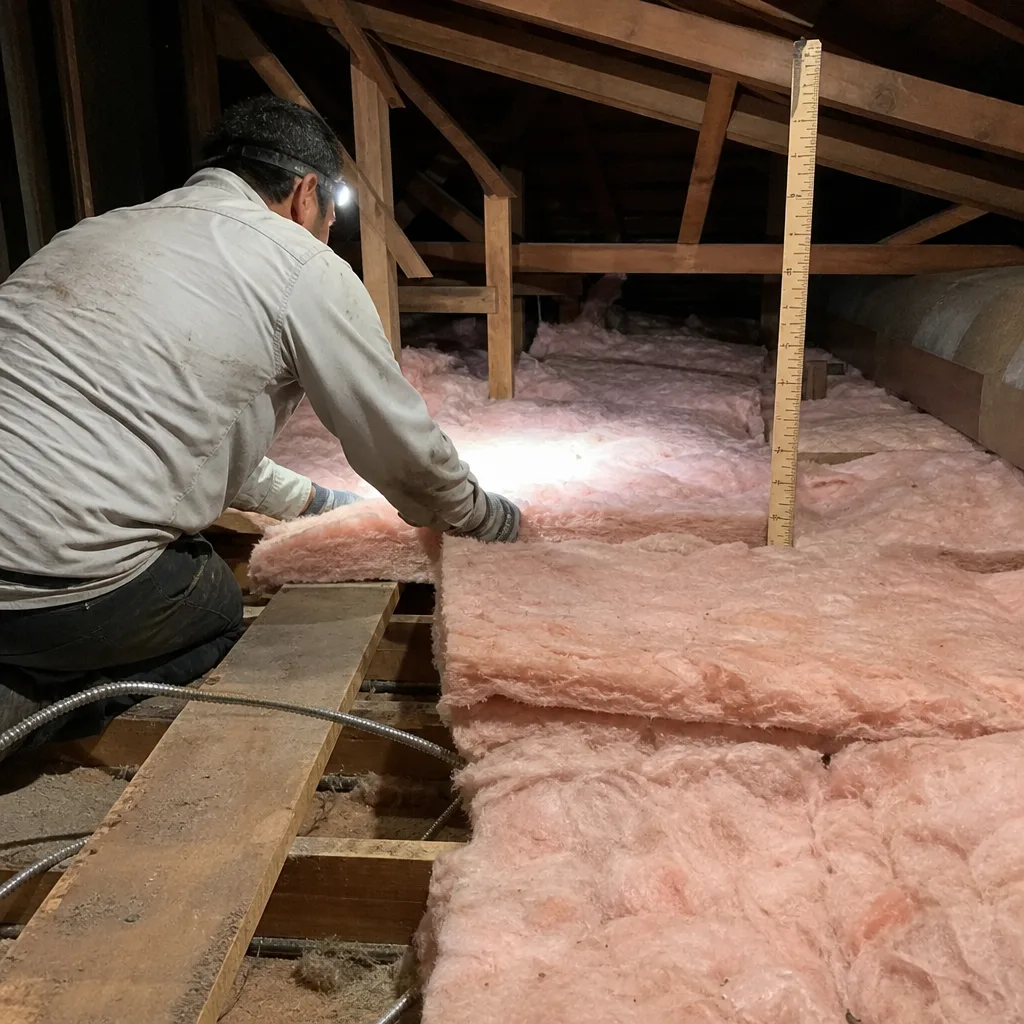
The sticker price of a DIY insulation job is not the real cost. Here is the line-item accounting that most Burbank homeowners do not perform before renting equipment. For a detailed insulation cost breakdown: the Burbank homeowner’s reference for 2026, see our full analysis.
| Cost Item | DIY Range | Professional Equivalent |
|---|---|---|
| Blower rental (1 day) | $100-$150 | Included in labor |
| Cellulose material, retail (30 bags for 1,000 sq ft at R-38) | $450-$600 | $340-$480 (contractor pricing) |
| Fiberglass blown-in, retail | $500-$700 | $380-$560 |
| Disposal of existing contaminated insulation | $200-$400 (dump fees + truck) | Included or itemized |
| Air sealing materials (caulk, foam, weatherstripping) | $80-$150 | Included in scope |
| Respirator, coveralls, eye protection | $60-$100 | Crew-provided |
| CF2R HERS rater fee | Not available to DIYer | $150-$300 (coordinated by contractor) |
| Value of documented photo record | None generated | Included on every job |
The material pricing gap is significant. Contractors purchase Owens Corning, Johns Manville, Knauf, and GreenFiber products through distribution at 20-35% below retail. The DIYer pays full retail plus sales tax. On a 1,500-square-foot attic at R-38, that gap alone is $150-$350.
The hidden cost is the correction. If you install insulation over unsealed bypasses, the remediation cost in Burbank runs $2,500-$4,500 for removal, sealing, and reinstallation. That exceeds the cost of professional installation in the first place.
How to Read Your Attic Floor: Four Visual Indicators
Before you decide to DIY, you need to know which category your attic is in. These four indicators distinguish a sealed attic from an unsealed one. Inspect from the attic side with a headlamp. Do not disturb existing insulation more than necessary to see these features.
- Top plates are foamed or caulked. The top plate is the horizontal framing member where the wall meets the ceiling. In an unsealed attic, you see a straight line of drywall butting against wood, with visible gaps. In a sealed attic, that joint is covered with gray fire-rated foam, white latex caulk, or a strip of rigid foam sealed at edges. The sealant is visible on top of the plate, between the plate and the drywall edge.
- Can light housings are enclosed. Non-IC-rated recessed lights in a sealed attic have a box or tent enclosure over them, typically metal or fire-rated fabric, sealed to the drywall. IC-rated fixtures may be in direct contact with insulation but will show evidence of deliberate placement. Unsealed attics have bare fixture housings with insulation pushed loosely around them or gaps visible.
- Penetrations are individually sealed. Plumbing vents, electrical wiring, and HVAC duct penetrations through the attic floor should show sealant at the penetration point. A sealed attic has visible caulk or foam where each pipe or wire passes through. An unsealed attic shows raw openings with insulation stuffed nearby but no continuous air barrier.
- The attic hatch has weatherstripping and insulation. The hatch is a major leak point. A sealed attic has compressible weatherstripping on the hatch frame or the hatch itself, plus insulation attached to the hatch panel. An unsealed attic has a bare plywood or drywall panel with no seal and no insulation.
If you observe all four indicators, your attic may be a candidate for DIY depth addition. If any indicator is missing, your attic needs professional air sealing before insulation is added or augmented. In Burbank’s older neighborhoods, particularly the 1920s-1950s stock in the Rancho area and the 1960s-1970s split-levels near the Equestrian Center, we find zero of four indicators in roughly 60% of initial assessments.
The One Scenario Where DIY Saves Money
DIY insulation is financially rational when all of the following conditions are met simultaneously:
- The attic has been professionally air-sealed within the past 5 years, with documentation
- No existing insulation requires removal or remediation
- The scope is strictly adding blown-in depth to reach current code minimum
- No electrical, plumbing, or HVAC modifications are needed
- No permit or CF2R is triggered (verify with Burbank Building & Safety at (213) 816-1699)
- The homeowner has verified all four visual indicators above
Even in this scenario, the savings are narrower than they appear. A professional Attic Insulation in Burbank job for depth addition only, in an already-sealed attic, typically runs $1,200-$2,200 for 1,000 square feet at R-38. The DIY material and equipment cost is $550-$850. The gap is $650-$1,350. That gap closes further when you account for the time value of a full day of physical labor in a hot, confined space, and the risk of incomplete coverage or compressed material that reduces performance.
The savings exist. They are real. They are also smaller than the rental counter suggests, and they evaporate entirely if any precondition is not met.
Common Mistakes to Avoid
- Blowing insulation over unsealed top plates. This is the most expensive DIY error in Burbank. The cellulose or fiberglass acts as a filter, trapping dust at the leak point while air continues to flow. The insulation appears to be working, but the thermal boundary is compromised. Correction requires complete removal.
- Installing batts without addressing kneewall bypasses. In Burbank’s story-and-a-half homes and converted attics, kneewalls, the short vertical walls under a sloped ceiling, often have open framing at the base or top that connects conditioned space to the attic. Stuffing batts in the stud bays without sealing these bypasses is ineffective.
- Compressing fiberglass batts to fit. Fiberglass achieves its R-value through loft, the trapped air between fibers. A batt compressed from 6 inches to 4 inches loses roughly one-third of its R-value. Cut batts to fit the cavity width; do not fold or compress them.
- Covering non-IC can lights with insulation. This creates a fire hazard and voids homeowner’s insurance coverage in the event of a fire. Verify every fixture rating from below before insulating from above.
- Ignoring existing insulation condition. Insulation that has been rodent-affected, water-stained, or contaminated with HVAC condensate should not be covered with fresh material. It should be removed professionally. Covering it locks in odor, pathogens, and moisture.
- Skipping the attic hatch. The hatch is often the largest single air leak in the attic assembly. A perfectly insulated attic with an unsealed hatch performs like a bucket with a hole in the bottom.
- Assuming permit requirements don’t apply to DIY work. Burbank Building & Safety requires permits for insulation work that alters the thermal envelope. The permit triggers inspection, and inspection may trigger CF2R requirements. Call before you start.
When to Call a Professional
Call a professional when any of these conditions apply: your attic has not been air-sealed, you need insulation removed, your home was built before 1990 and has not had a blower-door test, you need spray foam, you have non-IC can lights, you need a CF2R for rebates or resale, or you simply want the work documented with before-and-after performance numbers. Not sure where to start? Read our how to hire a insulation contractor in Burbank: a step-by-step guide.
Topside Attic Insulation Burbank offers free estimates in Burbank. We’ll read your attic floor with you, show you what we find, and give you a written price before any work starts. Call (213) 816-1699.
Frequently Asked Questions
Most attic insulation jobs in a Burbank home this size run between $2,200 and $4,500 for a complete seal-and-insulate scope, including air sealing, blown-in insulation to R-38 or R-49, and blower-door verification. A depth-addition-only job in an already-sealed attic typically runs $1,200-$2,200. Call (213) 816-1699 for an exact quote, estimates are free.
Most utility rebate programs, including those through Southern California Edison and LADWP for Burbank-adjacent service territories, require a CF2R and HERS rater verification that a DIYer cannot generate. The rebate value typically exceeds the cost difference between DIY and professional installation. Call us at (213) 816-1699 and we’ll review your specific rebate eligibility.
Repair, meaning spot-adding insulation over existing material, is cheaper only if the existing insulation is clean, dry, uncompressed, and the attic is already air-sealed. Otherwise, replacement is more cost-effective because it allows proper sealing and avoids trapping problems. In Burbank’s climate, wet or rodent-affected insulation is common in homes with roof leaks or unsealed attic vents. We see this frequently in the hillside areas where wind-driven rain penetrates older roof assemblies.
Use the four visual indicators described above: sealed top plates, enclosed can lights, sealed penetrations, and an insulated, weatherstripped hatch. If you’re uncertain, we provide a documented assessment with photos so you know exactly what category you’re in before making any decision.
A blower-door test is a pressurization reading that shows, in one number, how much air your building envelope is losing. We perform this test before and after air sealing on every applicable job, and we publish the numbers so you can verify the result. For DIY work, you cannot perform a calibrated blower-door test without certified equipment. The test is required for CF2R documentation.
We answer calls with a live person 24/7, and we schedule assessments throughout Burbank including weekdays and Saturdays. Same-day availability varies by season; spring and fall book 2-3 days out, summer peak can extend to 5-7 days. Call (213) 816-1699 and we’ll give you the next available slot.
The Bottom Line
The DIY-versus-professional insulation question in Burbank is not primarily about skill or even about money. It’s about sequencing and documentation. A DIY job that adds insulation to an unsealed attic creates a problem that costs more to fix than professional installation would have cost originally. The only scenario where DIY saves money is the narrow case of adding depth to an attic that is already sealed, already clean, and already documented. For everything else, the professional route provides air sealing first, verified performance, permit compliance, and a written record that protects your investment. Explore more guides & resources on attic insulation and home energy efficiency. Under Haven Standard Clause 1, every job we perform begins with a written price and ends with a documented photo record, plus before-and-after blower-door numbers on applicable work.
Written by Wes Okafor, Owner at Topside Attic Insulation Burbank, serving Burbank since 2016.