
Icynene Radiant Barrier Installation: The Burbank Owner’s Guide
Most Icynene radiant barrier installations in Burbank run between $2,800 and $5,400 for a typical 1,200-2,400 sq ft attic, depending on whether we’re retrofitting over existing insulation or installing in new construction. We stock Icynene-compatible radiant barrier material on every truck and can usually inspect and quote same-day. Homeowners usually discover the problem when their second-floor bedrooms won’t cool below 78°F even after sunset, or when their summer electric bills spike $80-$150 above the previous year despite no change in thermostat setting.
Which Icynene Models This Applies To
Icynene doesn’t manufacture standalone radiant barrier products under its own label. What we’re addressing here is the radiant barrier component installed as part of an Icynene spray foam system, typically in hybrid assemblies where open-cell foam (Icynene Classic Plus, MD-R-200, or Icynene ProSeal LE) is applied to the roof deck and a radiant barrier substrate is integrated at the attic floor or gable wall. The compatibility question isn’t Icynene model-to-model; it’s whether your existing radiant barrier was properly paired with the foam type and density originally specified.
To identify what you have, check the spray foam tag on your rafters or the documentation from your original install. Icynene Classic Plus (0.5 lb/ft³, R-3.6 per inch) requires a radiant barrier with an emissivity rating below 0.05 and a permeance above 5 perms to avoid trapping moisture against the foam face. The aftermarket equivalent we stock is a perforated, double-sided aluminum product from a supplier that meets the same ASTM C1313 spec. OEM-branded Icynene radiant barrier material is available through certified distributors only; we source equivalent-performing product with identical emissivity and permeance ratings at lower cost, and we document the spec sheet in your job packet.
One compatibility gotcha in Burbank: homes built 1955-1975 with plank decking rather than plywood. The radiant barrier needs a smooth, continuous nailing surface. We see retrofits where the original installer stapled barrier directly to uneven plank gaps, creating thermal bypasses at every seam. We fix that with a substrate layer first.
Signs Your Icynene Radiant Barrier Installation Is Failing
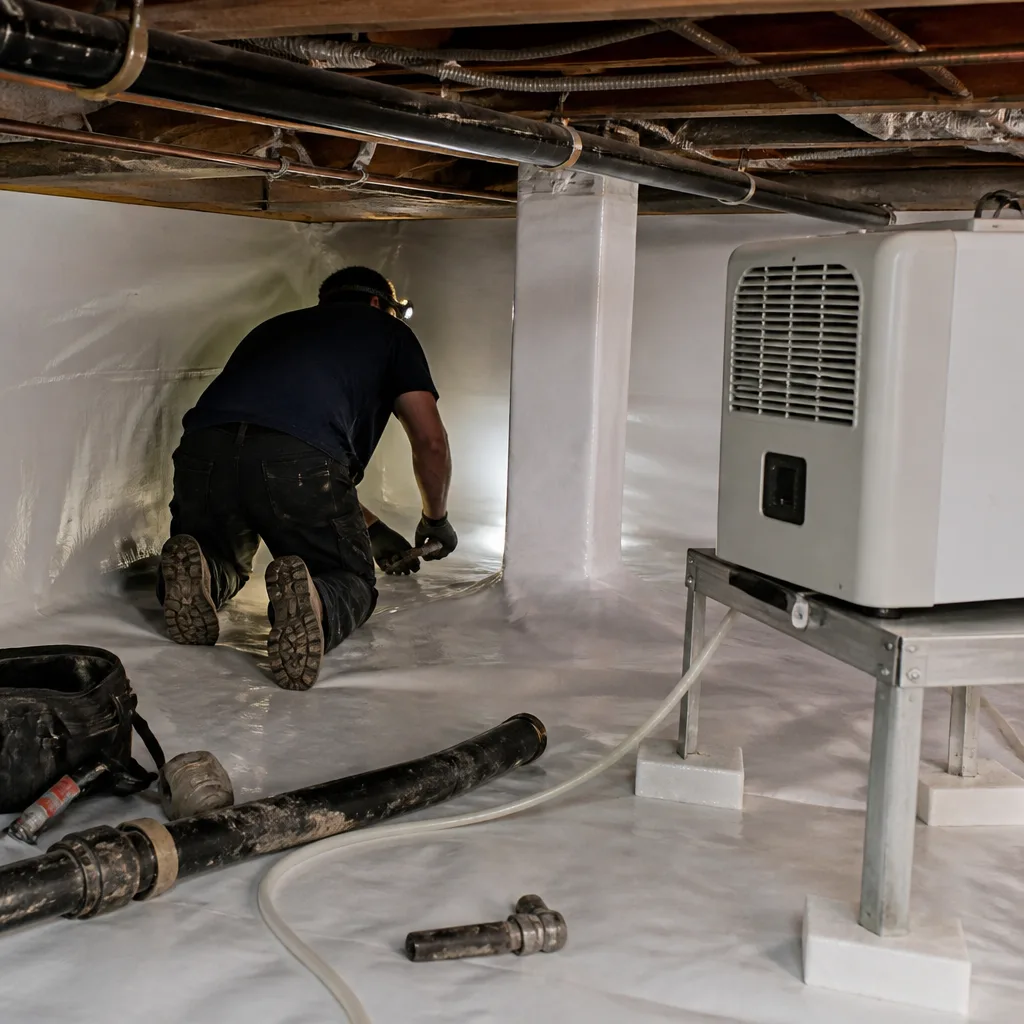
- Uneven cooling with hot ceiling spots. The radiant barrier has torn, delaminated, or pulled away from fasteners, usually at the ridge or near gable vents where attic temperatures peak. In Burbank’s August heat, unshaded attics hit 140°F; the adhesive backing on older barriers degrades fastest there.
- Dust accumulation on the reflective surface. A clean radiant barrier reflects 95% of radiant heat. Once dust embeds in the aluminum layer, emissivity climbs toward 0.30 and performance drops by half. This happens when attic air sealing was skipped before barrier installation, allowing conditioned house air to carry particulates upward through bypasses.
- Visible corrosion or oxidation spots. Burbank’s occasional Santa Ana wind events pull fine particulates through gable vents. Combined with humidity spikes from bathroom fans vented into attics (common in Magnolia Park ranches), the aluminum oxidizes. The barrier isn’t dead yet, but it’s declining.
- Moisture staining on the barrier face or rafter tails. This indicates a vapor drive problem. Icynene open-cell foam is vapor-permeable; if the radiant barrier below it is non-perforated or improperly sealed at penetrations, moisture condenses at the foam-to-barrier interface. We’ve pulled failed barriers in Burbank that were trapping a quart of water per 100 sq ft during winter temperature inversions.
- Insulation settling below the barrier plane. In hybrid systems, blown cellulose or fiberglass is installed over the radiant barrier at the attic floor. If the barrier was installed with insufficient fastening or wrong staple spacing (should be 6 inches on seams, 12 inches in field), it sags and the insulation above it compresses. You lose both radiant reflection and conductive R-value.
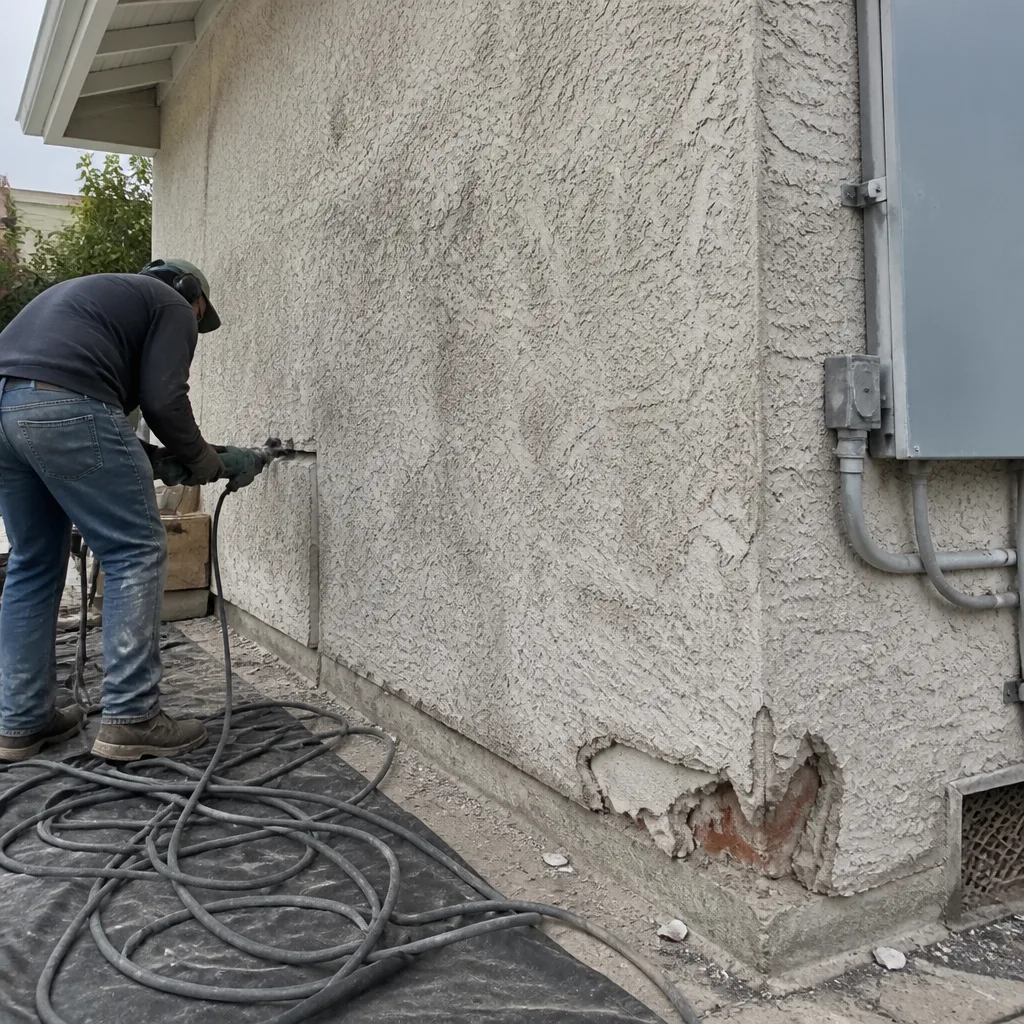 Before
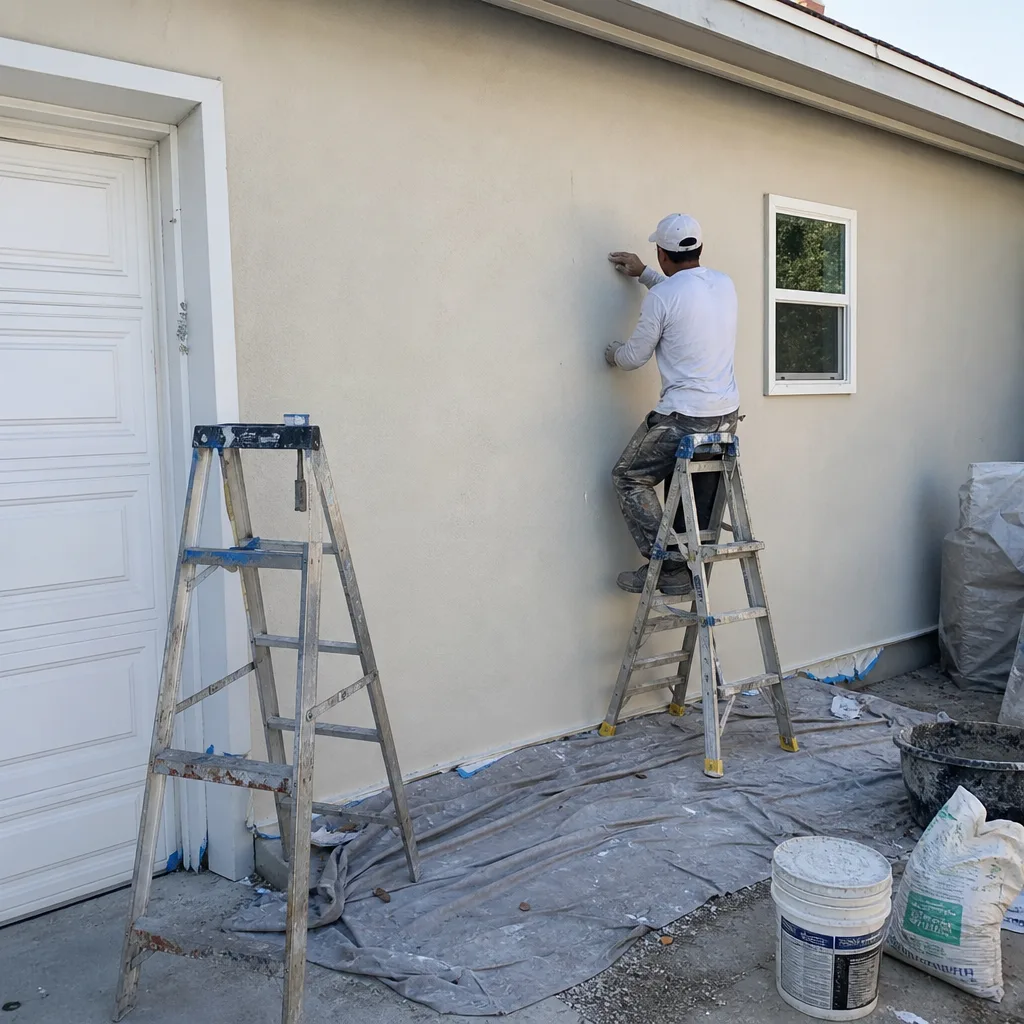 After
AfterReplacement Cost & What’s Included
| Scope | Price Range | Typical Home Size |
|---|---|---|
| Radiant barrier replacement only, attic floor, good access | $2,800-$3,600 | 1,200-1,800 sq ft footprint |
| Radiant barrier + air sealing of top plates and penetrations | $3,800-$4,800 | 1,500-2,200 sq ft |
| Full hybrid retrofit: remove old barrier, air seal, install new barrier, add blown insulation | $4,200-$5,400 | 1,800-2,400 sq ft |
What drives the range: attic accessibility (scuttle vs. pull-down stairs vs. cut new access), existing barrier removal difficulty, and whether we find unsealed thermal bypasses that must be addressed first. Under Haven Standard Clause 1, you get a written price before any work starts. That price includes the perforated radiant barrier material, all fasteners and substrate, labor, disposal of old material, and a Documented Photo Record. Where we perform air sealing, we also provide before-and-after blower-door numbers so you can verify the envelope tightened. The 365-Day Done Right Promise covers all completed work.
DIY or Call Us?
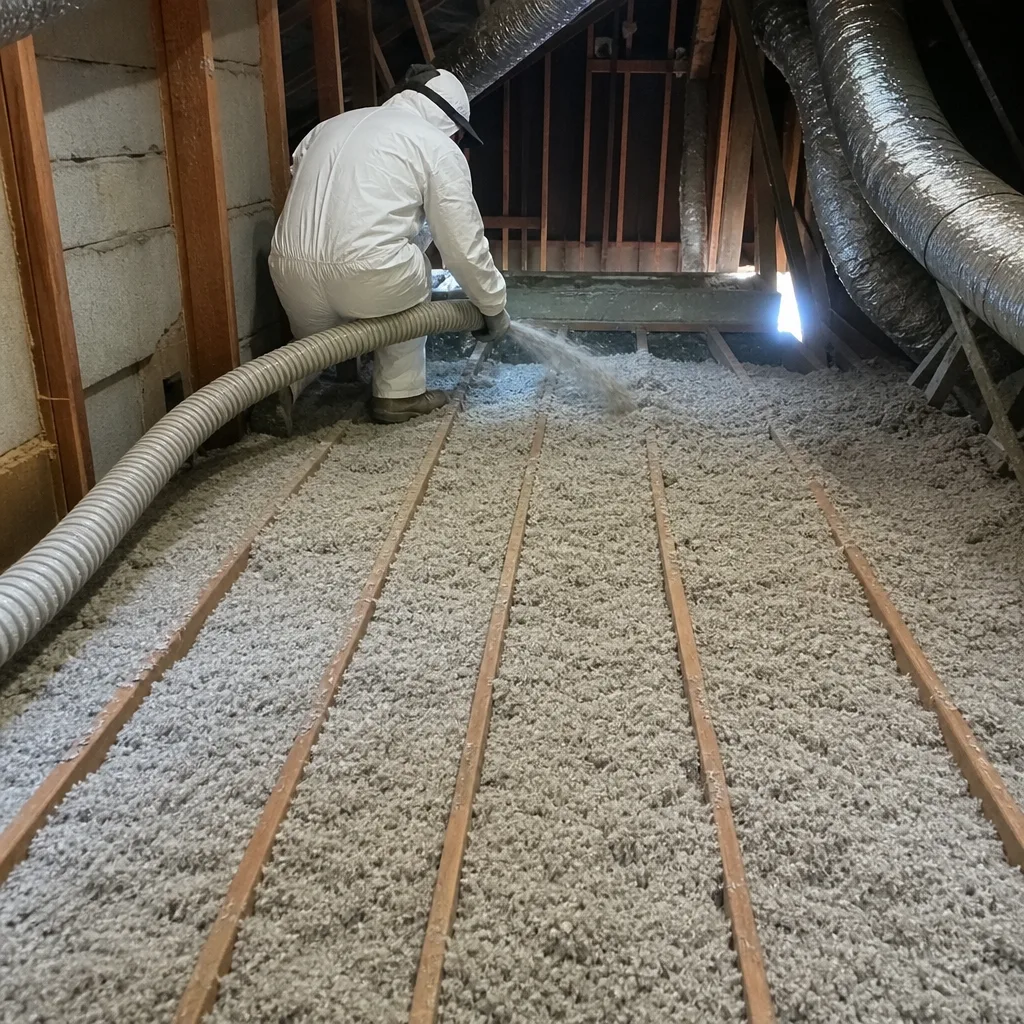
What you can safely check yourself: whether your attic access is clear, whether you can spot torn or sagging barrier from the hatch with a flashlight, and whether your bathroom fans actually vent outside (not into the attic). Take photos of any labels or tags you find on existing foam or barrier material.
Where DIY goes wrong: radiant barrier installation in a Burbank attic in July is heat-exposure work, and the sequencing matters more than the stapling. If you install new barrier over unsealed top plates, you’re reflecting heat into a leaky envelope. If you use non-perforated product with Icynene open-cell foam, you risk moisture damage. If you compress blown insulation against the barrier, you lose R-value. We also find homeowners miss the ridge and soffit ventilation balance changes that barrier installation requires. Call (213) 816-1699 and we’ll inspect, measure, and give you a written price. Estimates are free.
FAQs
In Burbank’s climate, a properly installed perforated radiant barrier lasts 15-25 years. The failure mode we see most often isn’t the aluminum itself but the mechanical fastening: staples pull through, tape releases at 140°F attic peaks, or substrate degrades. We use ring-shank fasteners and a polypropylene substrate rated for 180°F continuous exposure. Call (213) 816-1699 for an inspection if your barrier is past 12 years.
Patching works for isolated tears smaller than a dinner plate, but it’s usually false economy. By the time a Burbank homeowner notices performance loss, the barrier has multiple failure points, dust degradation, and often sagging that compressed the insulation below. We quote replacement with full removal so we can inspect and air-seal the deck beneath. Call (213) 816-1699 for a free assessment.
A straightforward attic-floor replacement in a 1,500 sq ft Burbank home takes one day. If we’re air-sealing first, adding two days. We don’t start until you have a written price and a scheduled date. Under Haven Standard, you get a named technician and a text when they’re en route.
Yes. We carry perforated, double-sided aluminum radiant barrier meeting ASTM C1313, with emissivity below 0.05 and permeance above 5 perms, compatible with all Icynene open-cell foam systems. We also stock Reflectix as an alternative for specific applications. Topside Attic Insulation Burbank is an independent service provider; we are not affiliated with Icynene. We source material from multiple suppliers including Icynene-certified distributors to match your existing system spec.
We also stock parts for Reflectix systems and can cross-reference if your original install used mixed materials.
The R-value is what the label says. The performance is what the blower-door test says. We care about the second number.
Ready to fix your attic? Call (213) 816-1699 for a free estimate. We’ll inspect your Icynene system, measure the attic, and deliver a written price before any work starts. Same-day appointments available in Burbank and nearby areas.
Written by Wes Okafor, Owner & Lead Insulation Technician, Topside Attic Insulation Burbank at Topside Attic Insulation Burbank, serving Burbank and nearby areas.